on the back of the DSS-1 before the top will swing open. One is on the right, by the
AC connector and power switch.
DSS-1 drive installation
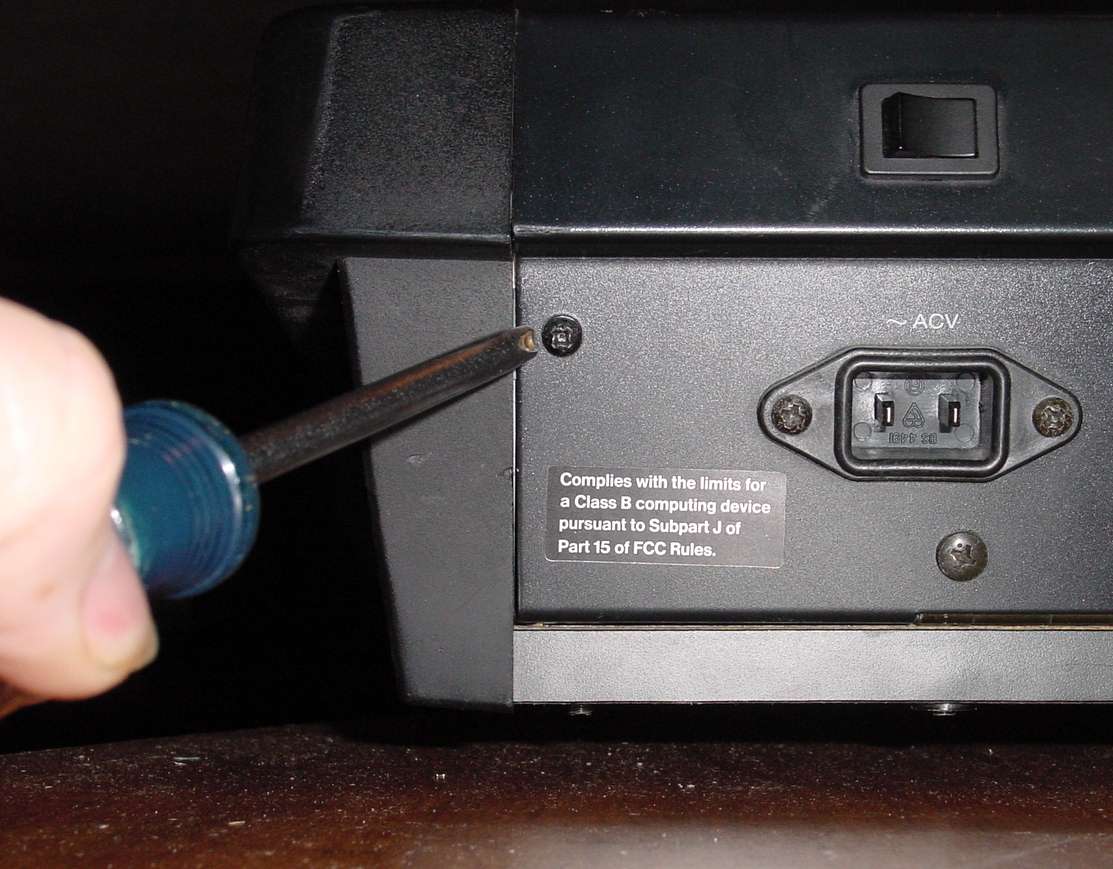
(page 3)After those 4 long screws are removed, two additional screws need to be removed
on the back of the DSS-1 before the top will swing open. One is on the right, by the
AC connector and power switch.
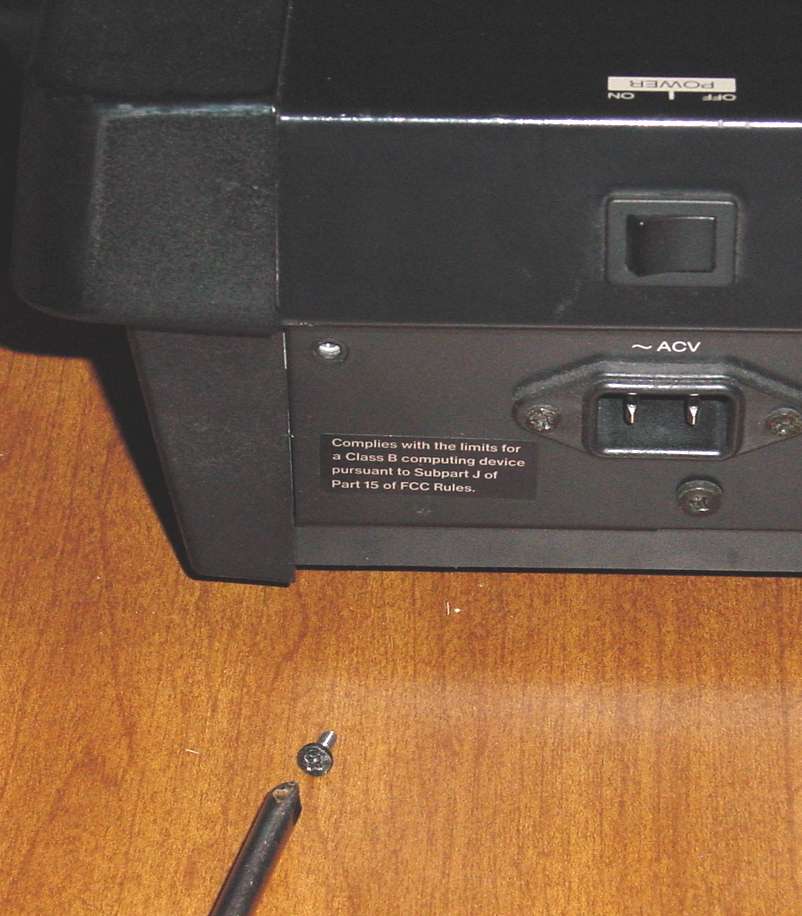
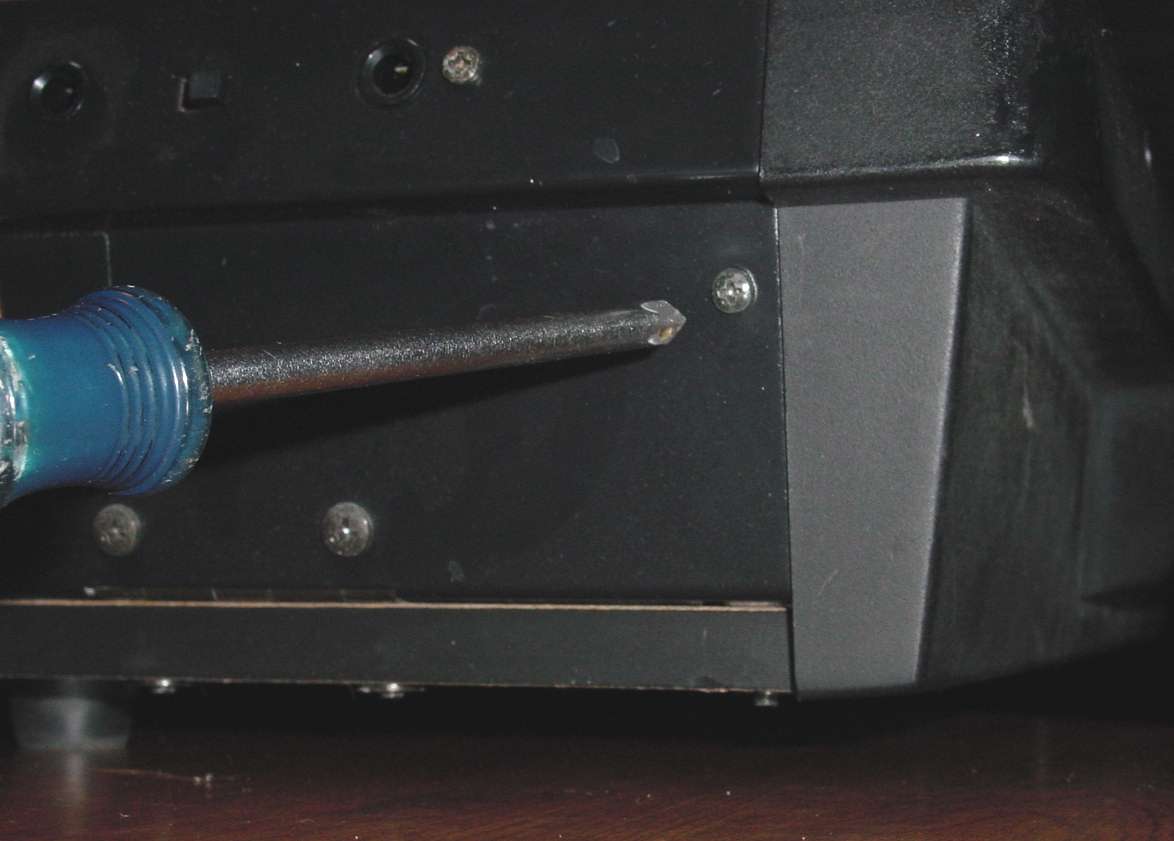
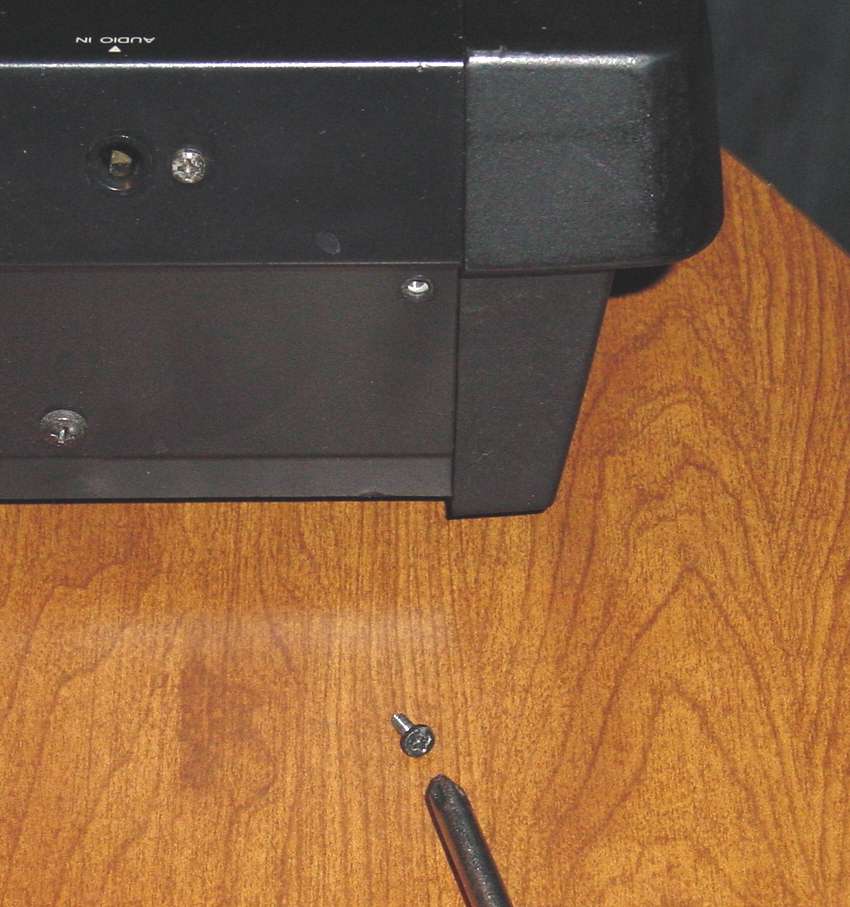
Another screw is located on the opposite side in the same location.
You will now find that the lid of the DSS-1 will easily hinge open to the back.
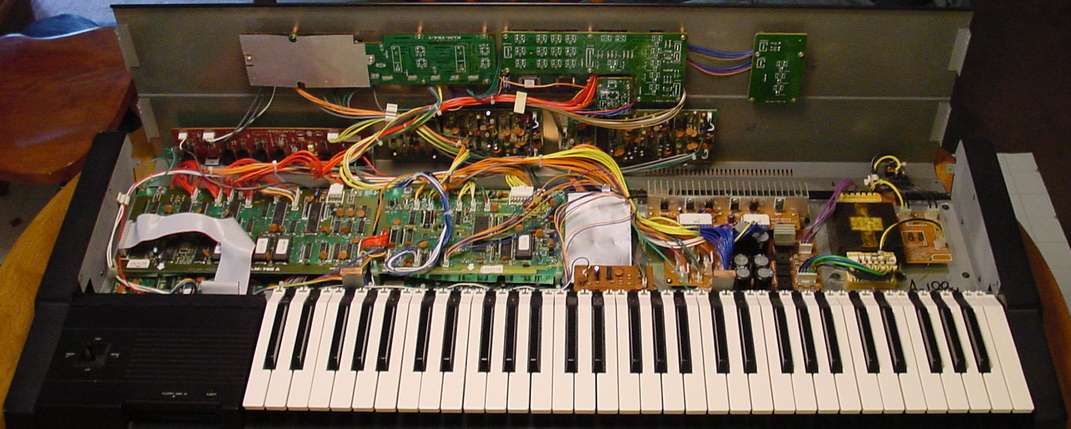
The connections to the disk drive are on the left side, behind the disk drive.

For now, close the lid so that you can remove the needed screws from the bottom
without fear of the top lid accidentally fall closed. You may find that you need to
slightly spread the end caps when you close the lid to prevent the side edges on
the lid from catching the inside metal behind the plastic end cap.