workbench or table was best where I could hang one end of the DSS-1 over the
edge to get at screws on the bottom side.
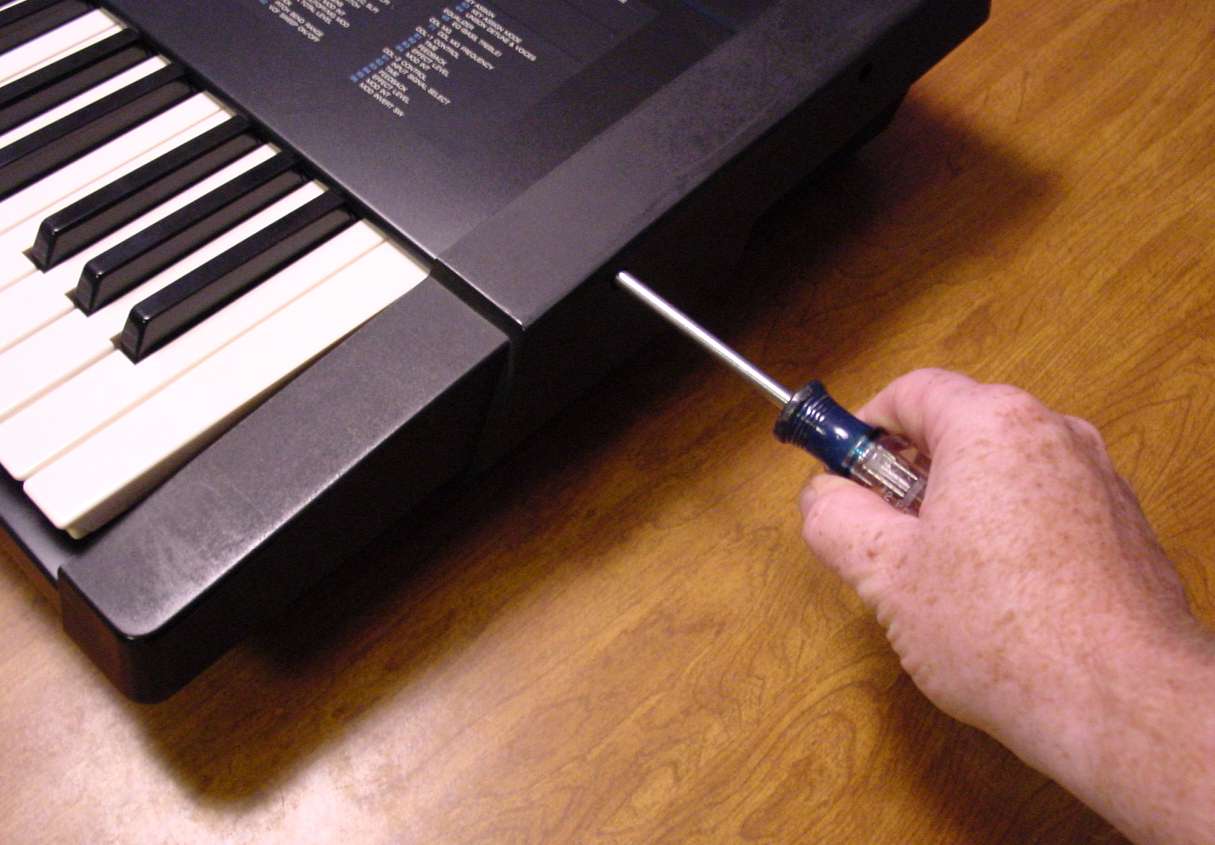
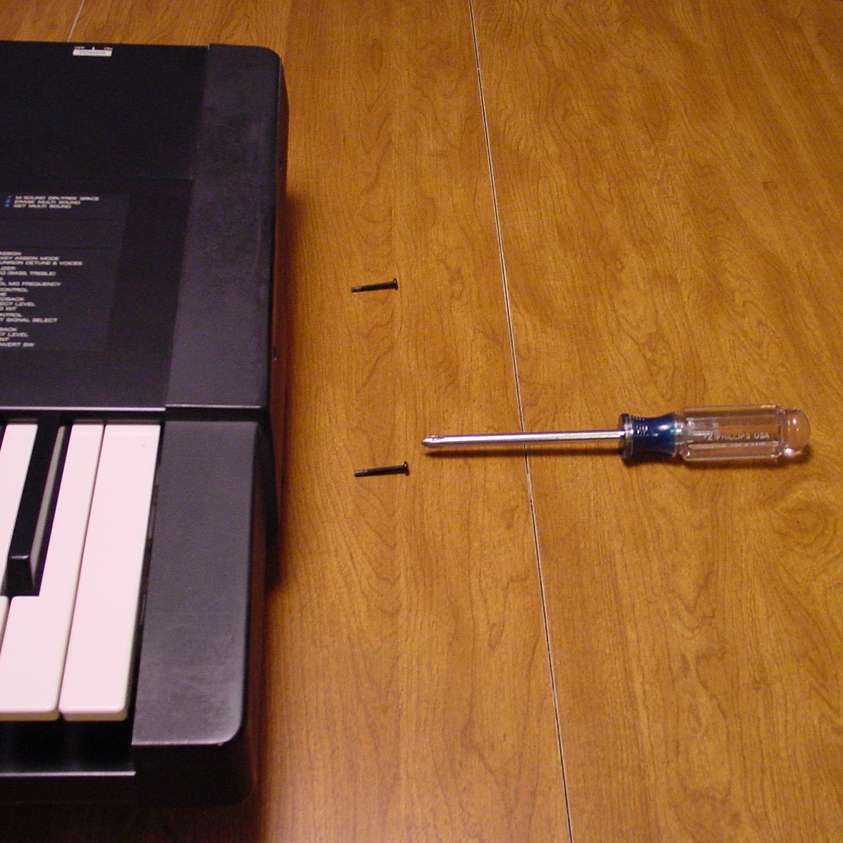
The first task is to remove 4 screws (2 on each end cap). These are medium size
Phillips-head screws. Some care needs to be exercised to line the screwdriver up
with the head and not strip out the top of the screw. You may also find that once you
have the screws fully backed out that you may need to tip the DSS-1 up from one
end to get the screws to fall out of their recessed holes.