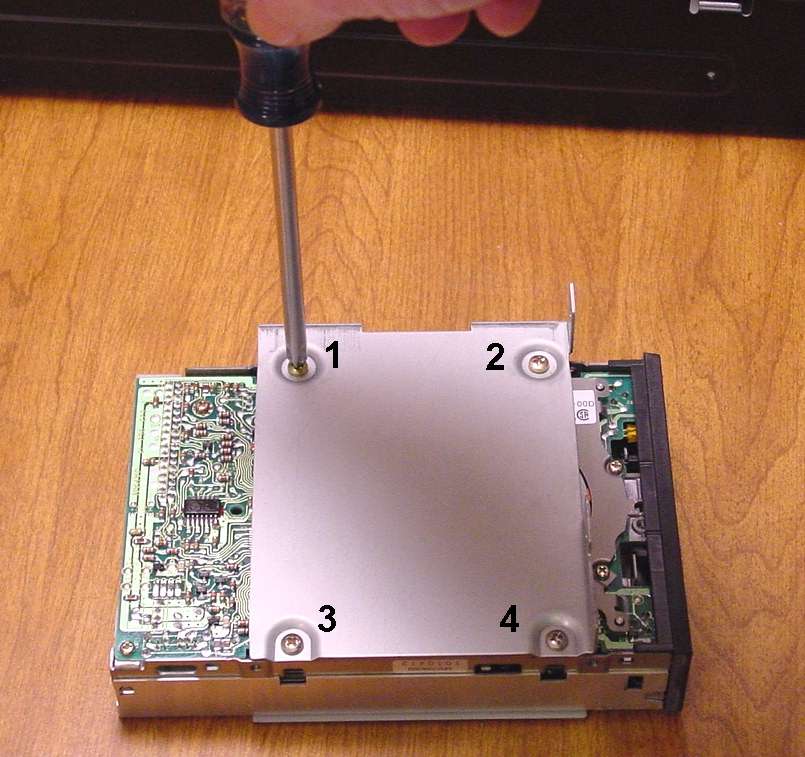
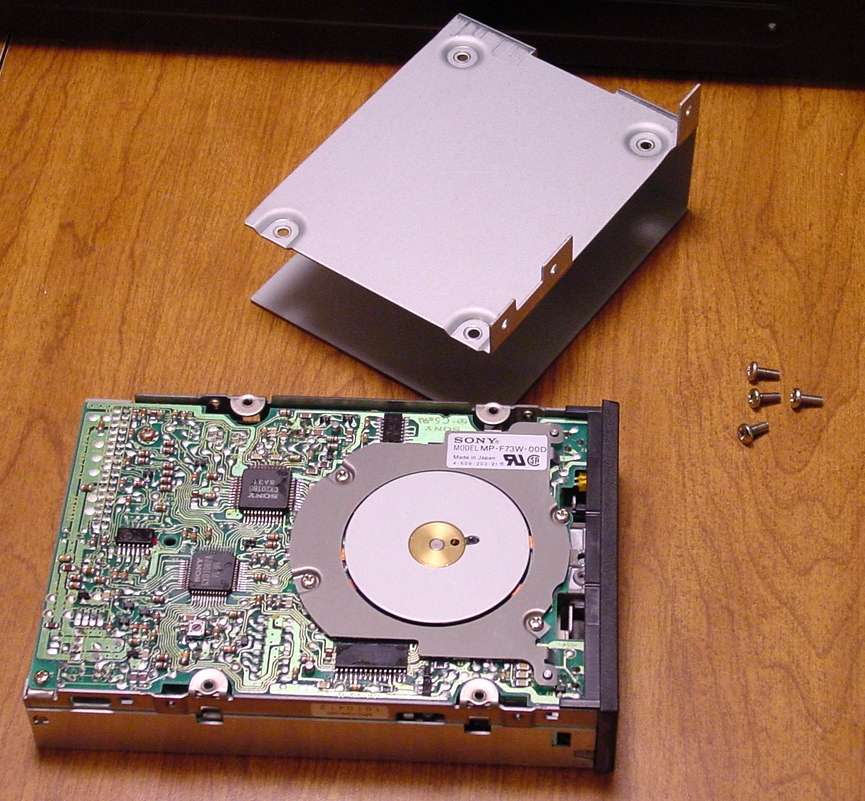
With the disk drive and drive bracket removed from the DSM-1, the disk drive must be removed from the bracket. Remove 4 screws and slide the bracket off of the disk drive.


Korg DSM-1 disk drive replacement instructions -
Page 3 of 4|
With the disk drive and drive bracket removed from the DSM-1, the disk drive must be removed from the bracket. Remove 4 screws and slide the bracket off of the disk drive. |
|
|
|
|
|
Take a few minutes to compare the old and new disk drives. Physically, the new drive is thinner than the old drive. But, their width and mounting holes are identical. Also identical is the location and orientation of the data cable and power supply connectors. So, your cables will connect to the new drive just as they did the original drive. You can see in the photos below that the replacement drive is supplied with a foam strip mounted across the top. This strip helps fill in the gap caused by the smaller size of the new drive face. |
|
|
|
|
|
The new drive must be attached to the drive mounting bracket before it can be installed. Slide the bracket over the drive and attach using the same 4 screws that held the original drive to the bracket. |
|
|
|
|
Back to DSS-1 / DSM-1 main page . . Ahead to instruction page 4