Korg DSM-1 disk drive replacement instructions – Page 2 of 4

Back to instructions page 1

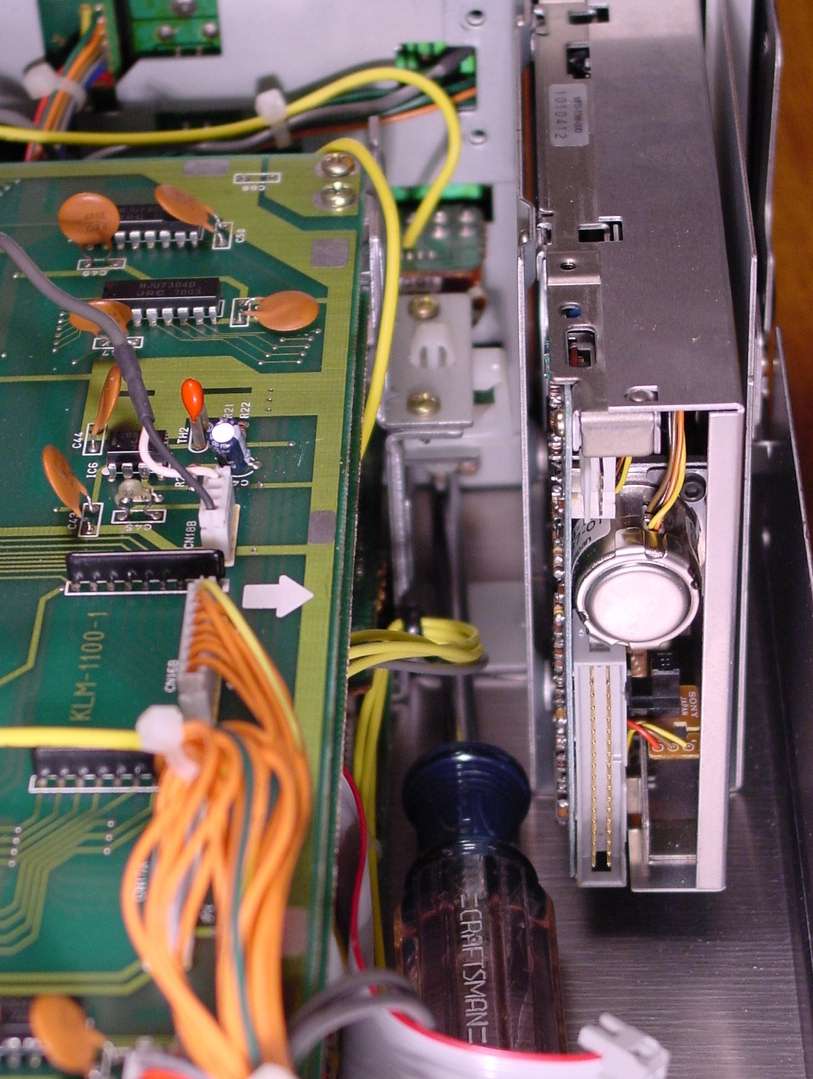
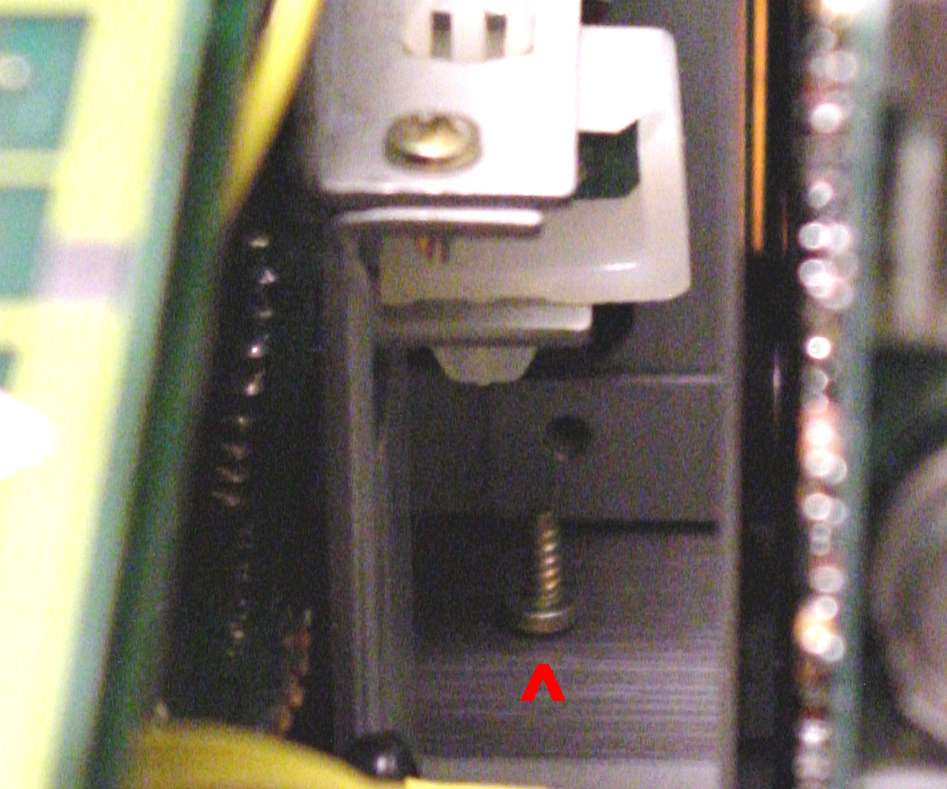
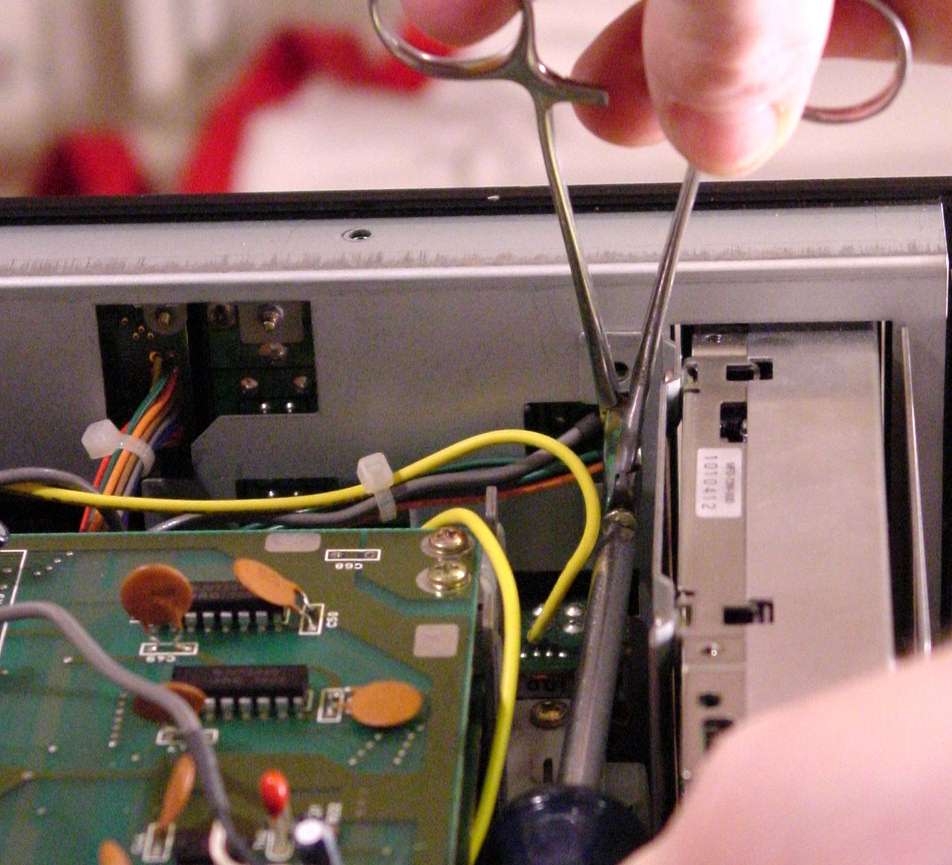
Locate the screw that holds the bottom flange of the drive bracket to the front panel. This screw is difficult to see and reach, but you have no choice. It will come out without difficulty if you use the correct size Phillips screwdriver and are patient, turning slowly and deliberately. Once the screw falls out, you can retrieve it with needle nose pliers or by tilting the DSM-1 cabinet up causing the screw to roll to the back.


Only 2 screws remain holding your DSM-1 disk drive in place. They are on the upper flange of the drive bracket. They are relatively easy to remove. As you can see in the photo to the right, I elected to use some hemostats to capture these screws as they were removed so as not to drop them into an area where I might have trouble retrieving them. Once you have these last two screws removed, the disk drive (still attached to the drive bracket) will be disconnected and ready to remove.


The disk drive and bracket remove as one assembly. Simply pull back on the drive until the front panel is cleared and then lift the drive up and out of the DSM-1.

Back to DSS-1 / DSM-1 main page . . Ahead to instructions page 3