Korg DSM-1 disk drive replacement instructions –
Page 4 of 4
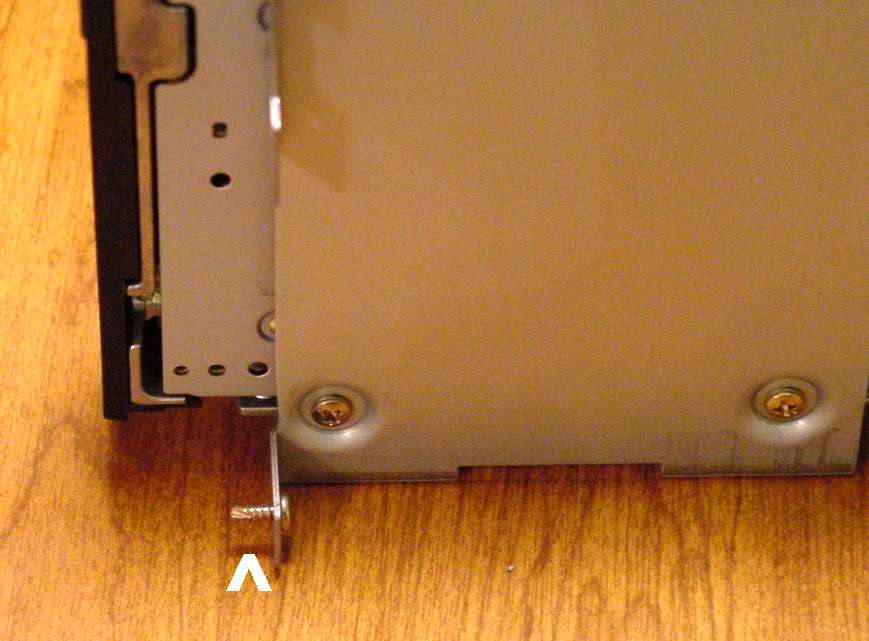
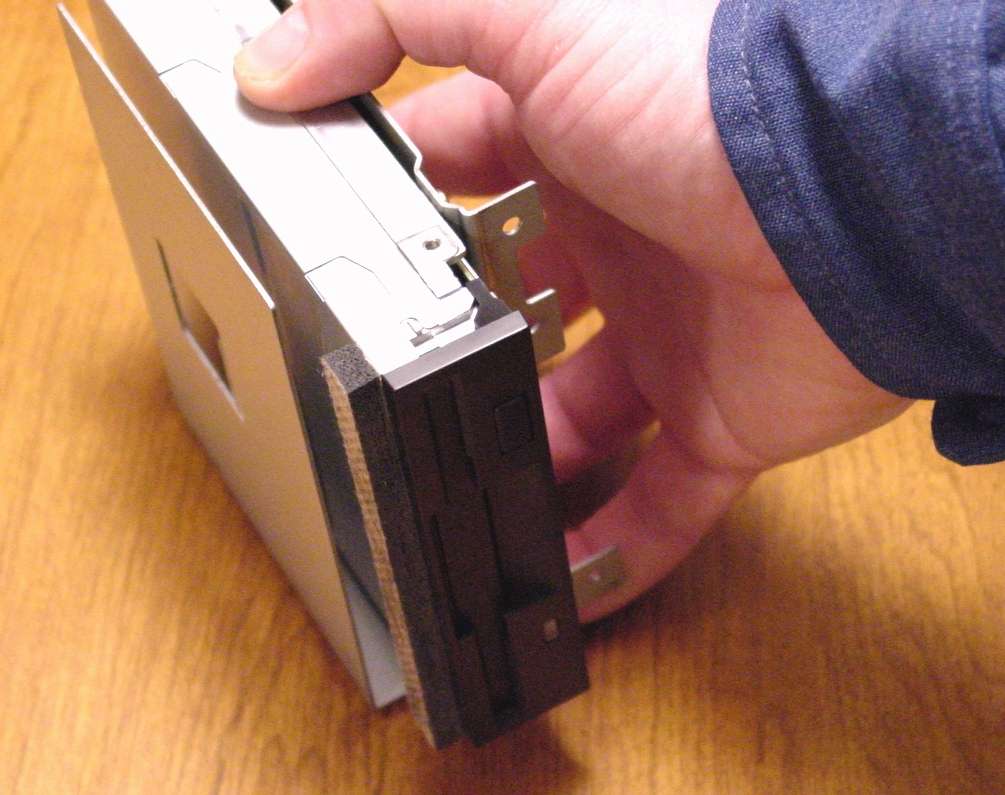
Your new drive mounted on the drive bracket should look like the photo below on the left. Notice that there is some additional space between the new drive and the side of the drive mounting bracket. Before you slip the new drive and bracket into place, insert the lower flange mounting screw through the hole in the lower flange as shown in the lower right photo. This is about the only way you can get that screw back into that tight spot. This worked great for me. |
|
|
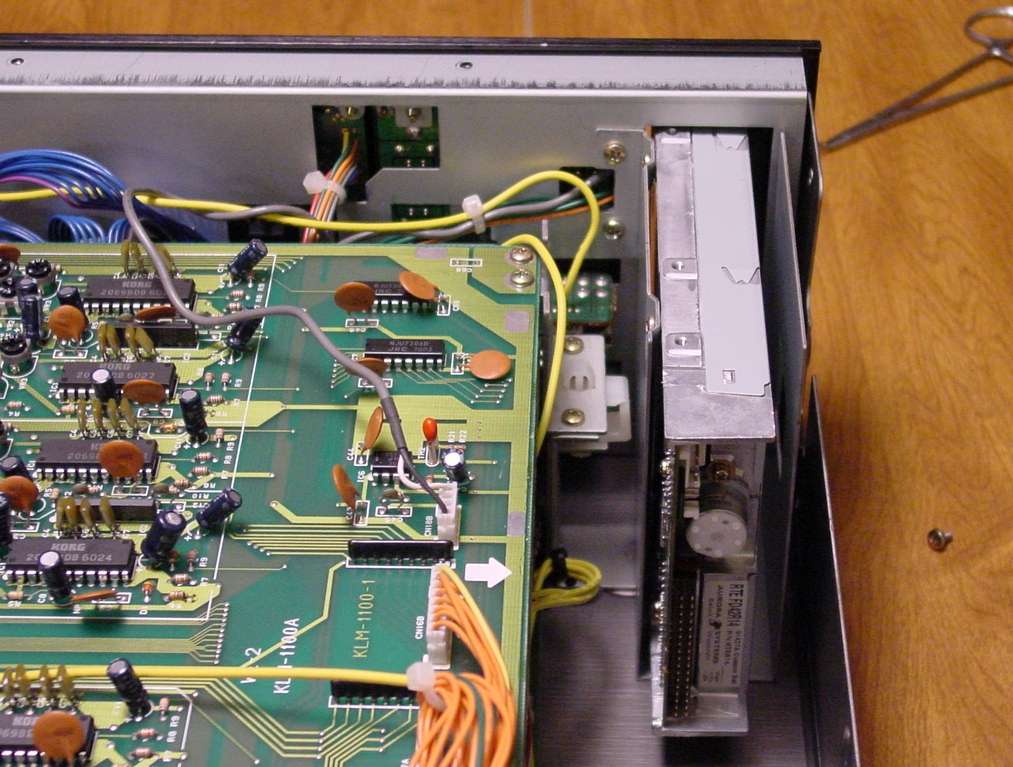
Carefully lower the new drive and bracket assembly into the DSM-1 and slide forward into position.
Before pushing all the way forward, position your screwdriver to guide the lower flange screw into
the hole in the front panel. This will be the first screw installed. It may be difficult to get started. So,
be patient and turn your screwdriver in small increments each time. Do not tighten the screw 100%.
You will install all 5 of the drive bracket mounting screws and then tighten them all.
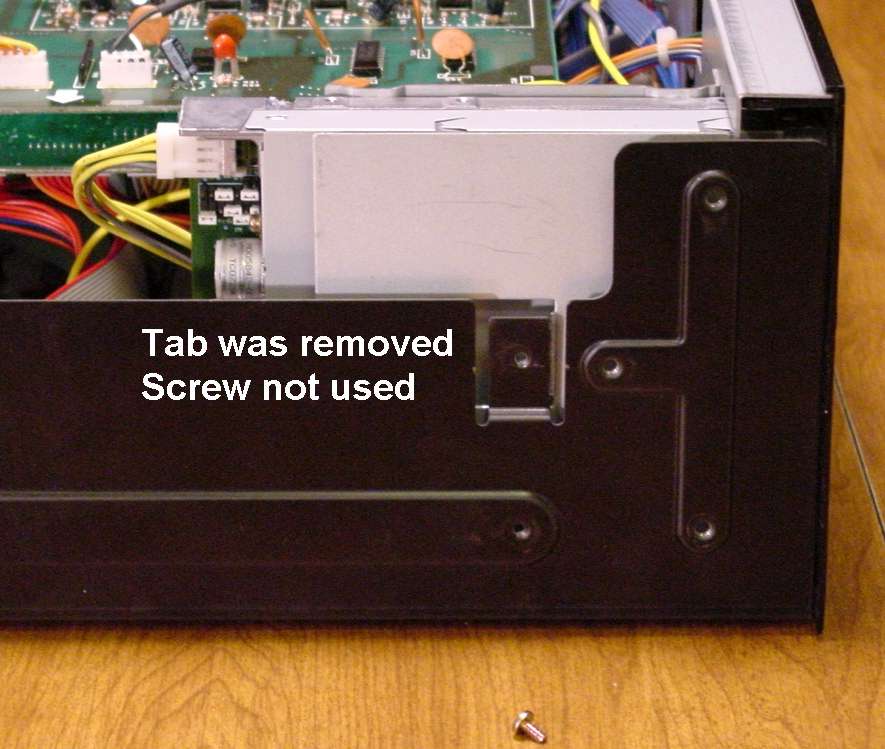
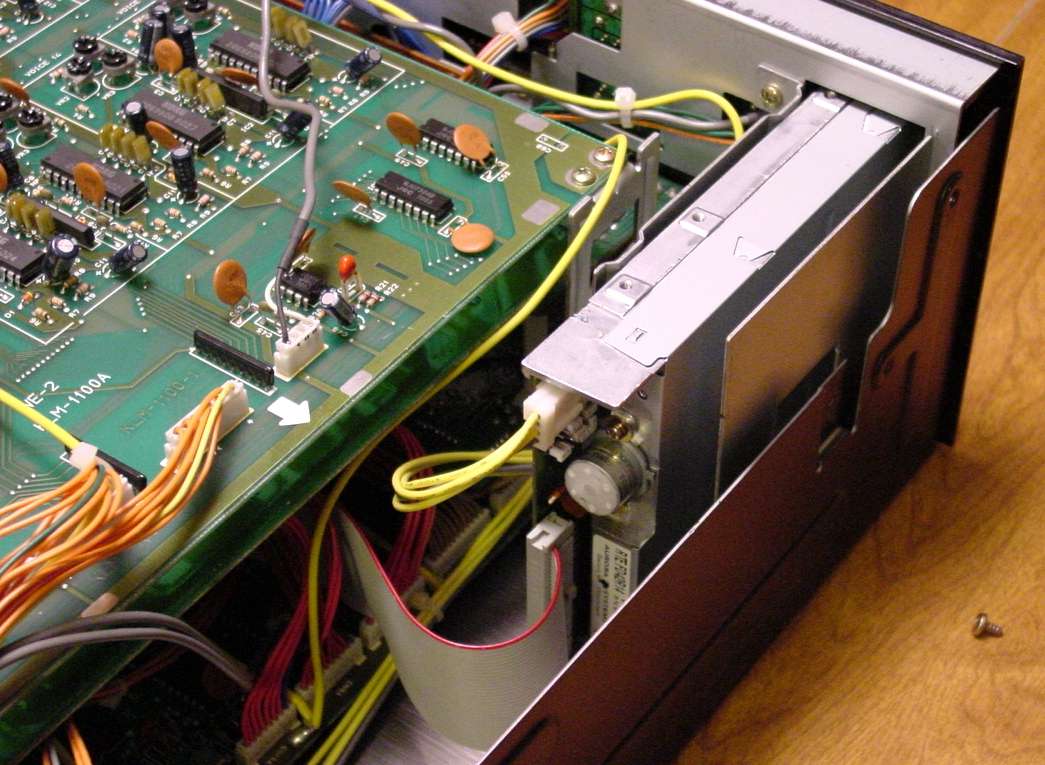
Install the 4 remaining screws that hold the drive bracket into place. Two are inside on the upper flange of the drive bracket as shown below. The last 2 are on the bottom. Notice that the side screw will no longer be used since you were forced to break the tab from the drive mounting bracket. Now, tighten all 5 of these screws. |
|
|
After the new disk drive and drive mounting bracket are successfully fitted into your DSM-1, you can reconnect the power cables. Notice that the 4 conductor power cable has interlocking tabs so it should fit only one way. It can probably be forced on backwards. So, be careful not to make that mistake. Plug the data cable on to the back of the drive. The red stripe goes to the top. Be careful not to bend any pins. And, be sure you are seating over all the pins and not offsetting the connector to one side or the other. |
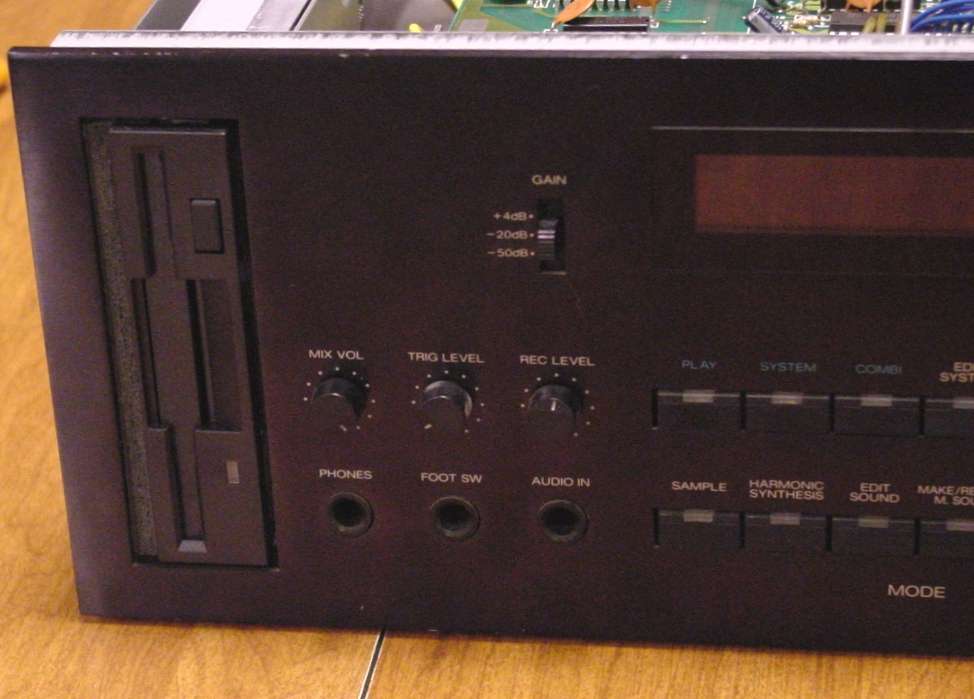
Here is what your new drive looks like from the front when the installation is complete. The trim fit is not perfect, but your DSM-1 is now working again. Connect the power and test the operation of your new disk drive. If everything works as it should, replace the top cover and secure with the 10 screws originally removed. Replace the 2 rack ears and fasten them with 3 screws each. |
Back to DSS-1 / DSM-1 main page