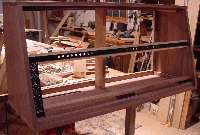
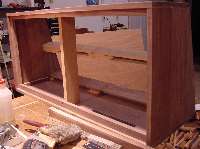
|
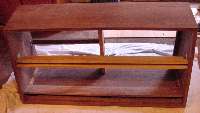
Well, I finally got my cabinet home and have it ready to start applying the finish. I use the wipe on type poly as it is easy to put on without runs.
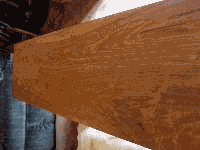
Heck the top looks beautiful without any finish installed. I love walnut.J
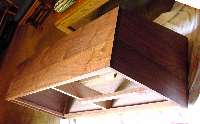
Here’s a little different view with one coat of poly on it (I think)
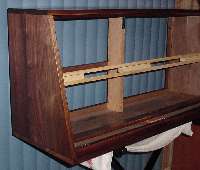
Here is the finished cabinet looking from the left side. Notice the spaces allocated for two magic busses. I put one below each row of modules.
|
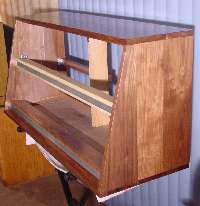
And, here it is from the right. Notice I have the unfinished metal for the magic busses temporarily installed.
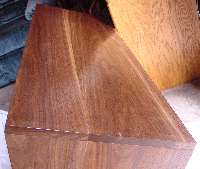
Even the bottom is gorgeous.
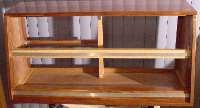
And, here is that all important front view. Now, I’m getting excited.
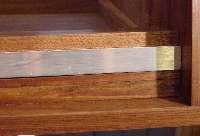
Here is a close up of the lower magic bus fit. Notice it sits flush with the wood right under the row of modules.
|
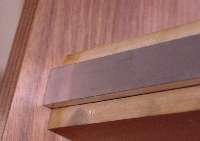
Here is a look at the top magic bus fitting. Once the flat rails and modules are added, all will be flush.
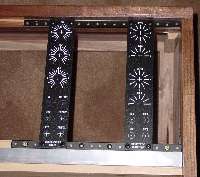
Installing the flat rails is best done using some panels for fitting guidelines. I started flush with the magic bus and adjusted the top as needed to assure proper fit.
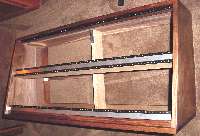
I used the same method to install both rows of flat rail the entire length.
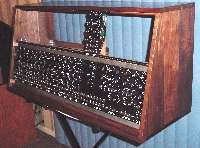
I ran a trial fit for modules before I started any wiring.
|
