DSS-1 drive installation
(page 5)
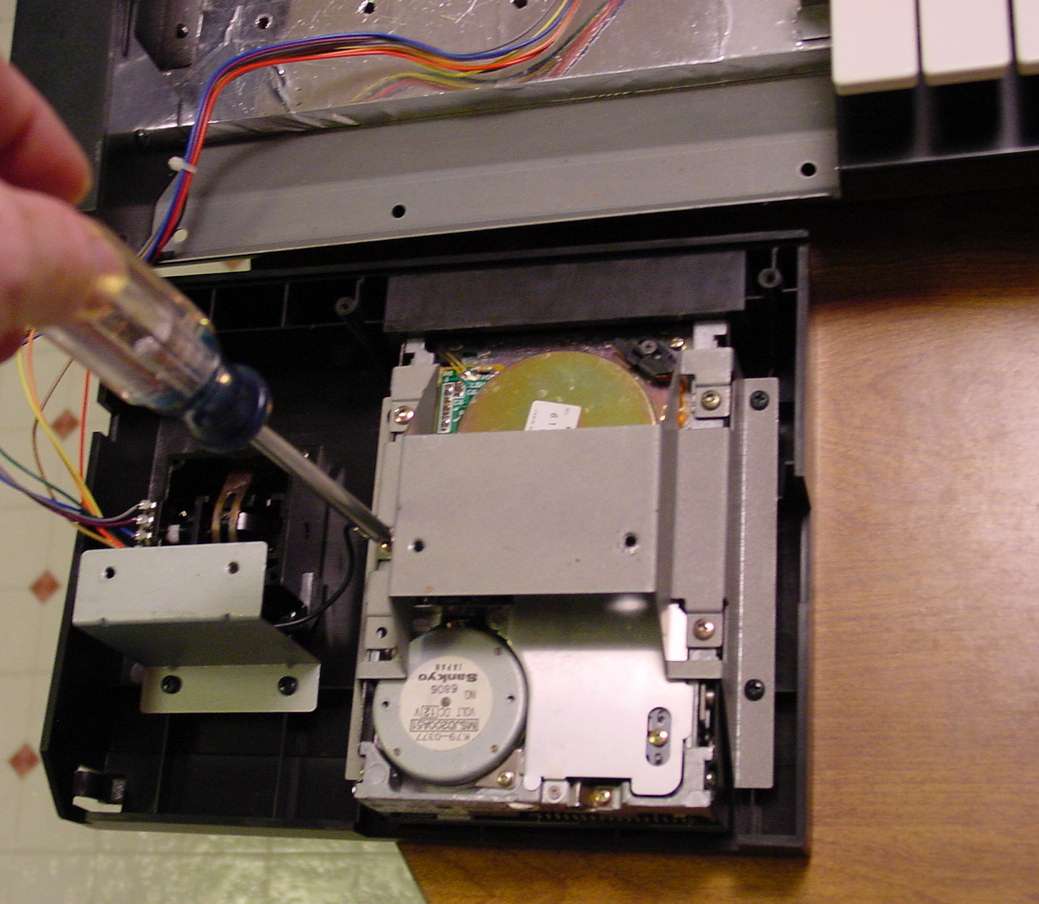
Once the drive assembly is removed, you are ready to remove the disk drive from this
assembly. Care must be taken not to damage the Joystick controller protruding from
the top of this assembly. I positioned my drive assembly so that the joystick portion
overhung the edge of the table prior to starting the drive removal. There are 4 small
screws that hold the drive into the assembly.
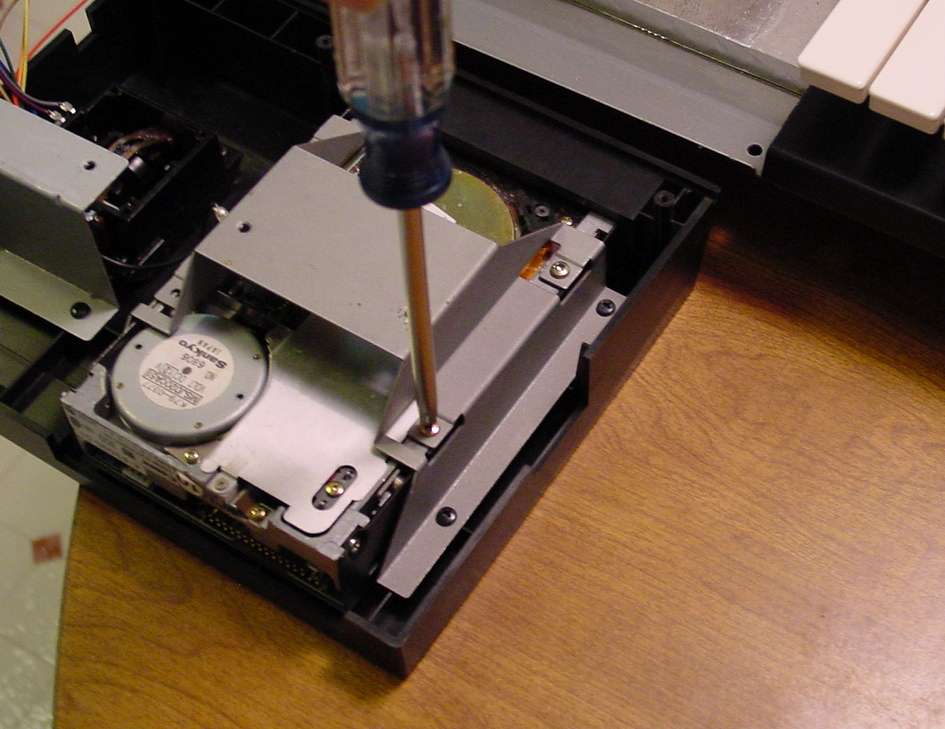
Once these 4 screws are removed, the disc drive will easily slip right out from the front.
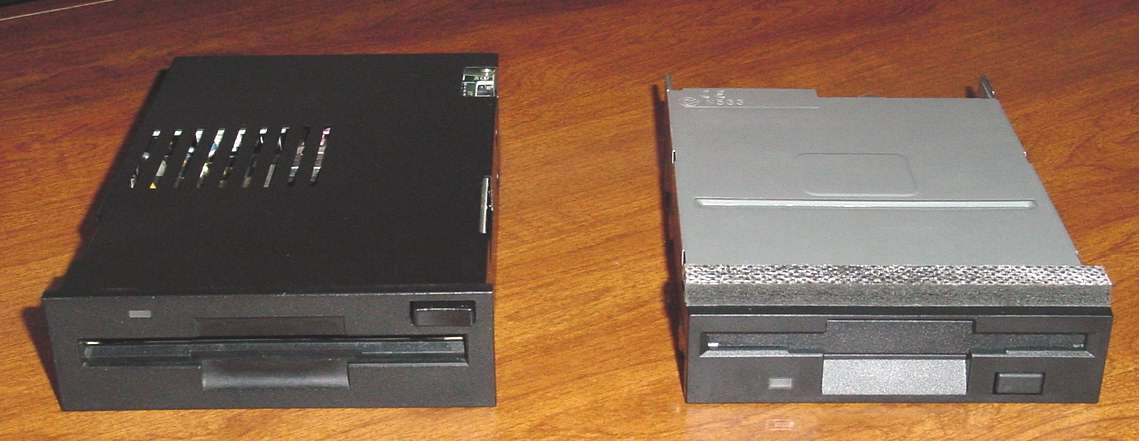
After you have the drive removed, take an opportunity to notice the physical differences
between the original DSS-1 drive and the replacement. You will see the replacement
drive is not as tall as the original drive. Here are some photos from the top, front, and
side.
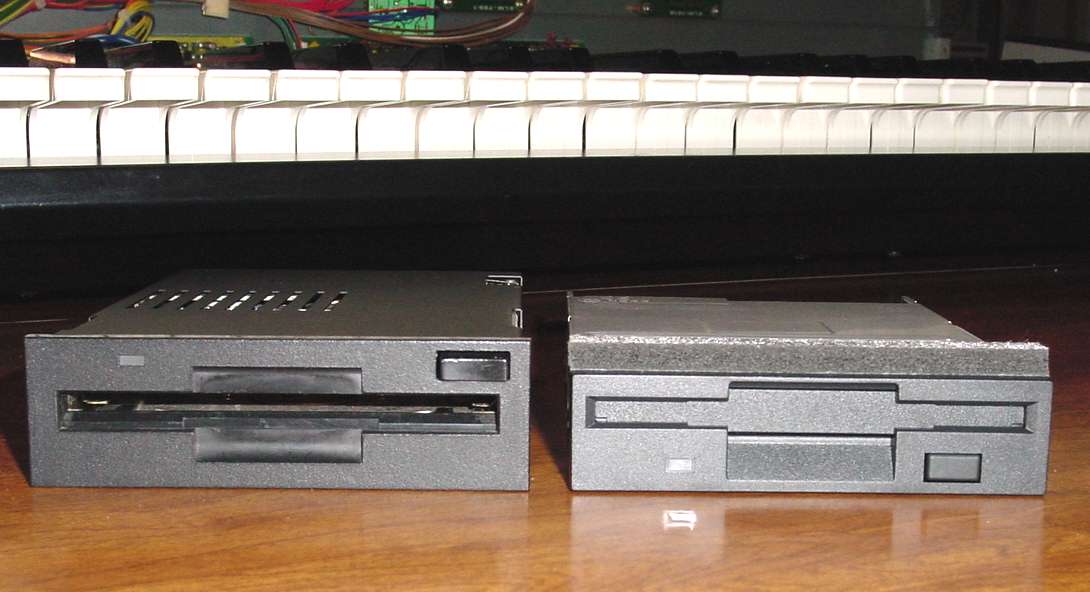
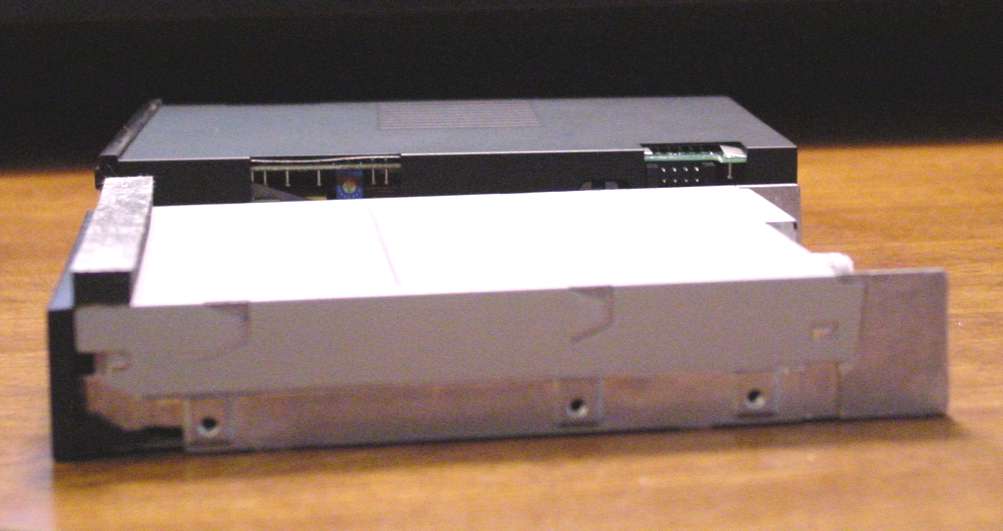
Now you can easily see the purpose of the foam strip across the top of the drive.
This strip fills in the gap because of the difference in height of the two drives. This
keeps foreign particles from entering your DSS-1 and makes the appearance much
more like the drive was original equipment. Kudos to Richard for including this extra
touch to dress out the appearance of the replacement drive installation.