My cabinet plans have evolved. That seems to be a theme for many of us as we realize
that the space we had allotted for our modular is not going to house everything we want
(or think we need). And, looking back at how my cabinets are coming out, I certainly
would have done a few things somewhat differently. But, I am not starting over. Instead
I have devised a plan to grow my original cabinets into the ultimate cabinet collection
that will surely have all the space I need. The best general description I know how to
give this arrangement is somewhere between Moog 55 and Roland system 700.
My synth center section will be 4 rows tall and 24U wide. These 4 rows will reside
in 3 cabinets. If I was starting over, I might change 2 things:
1. I might have made these two cabinet instead of three.
2. I might have cut the mounting lip into the top and bottom so that the front part of the
wood that shows is thin like Moog and Synthesizers.com cabinets.
Both of these options would have shaved some overall height off the finished synth
and been slightly more space efficient. But, I really like the look of 2 single row straight
cabinets on top of a 2 row slant cabinet. My cabinets will differentiate my cabinet from
others because they will have a built in multiple scheme know as the magic buss.
The cabinet exterior is constructed of 100% Black Walnut. Only some interior
bracing and the back are not walnut. The back is removable ¼ inch plywood.
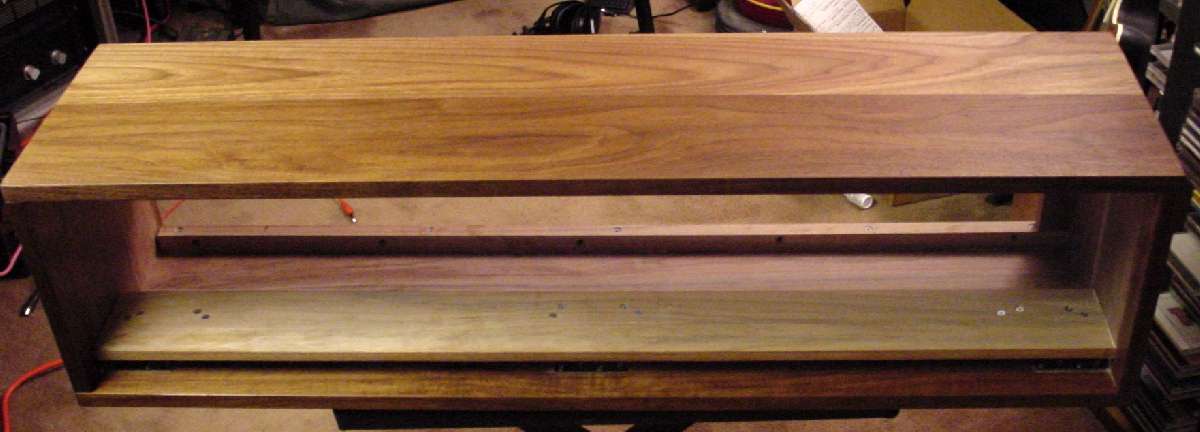
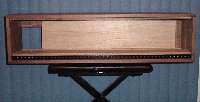
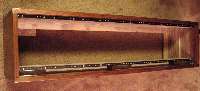
Here are photos of the middle cabinet. It was not complete nor was the finish
applied in these first photos. The middle and top cabinets will be identical.
Click the thumbnails below for the real photos.
|
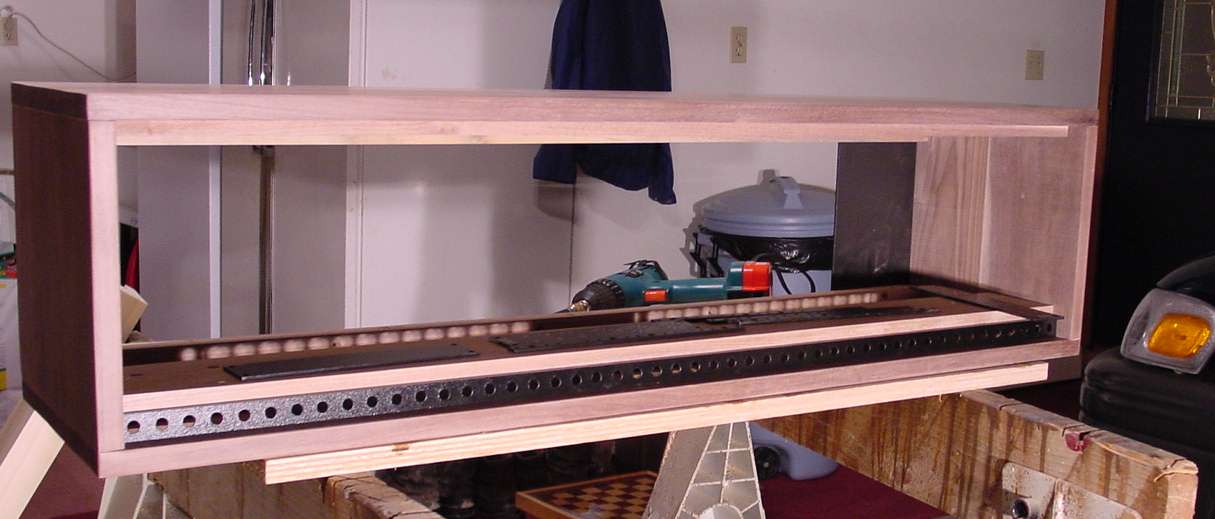
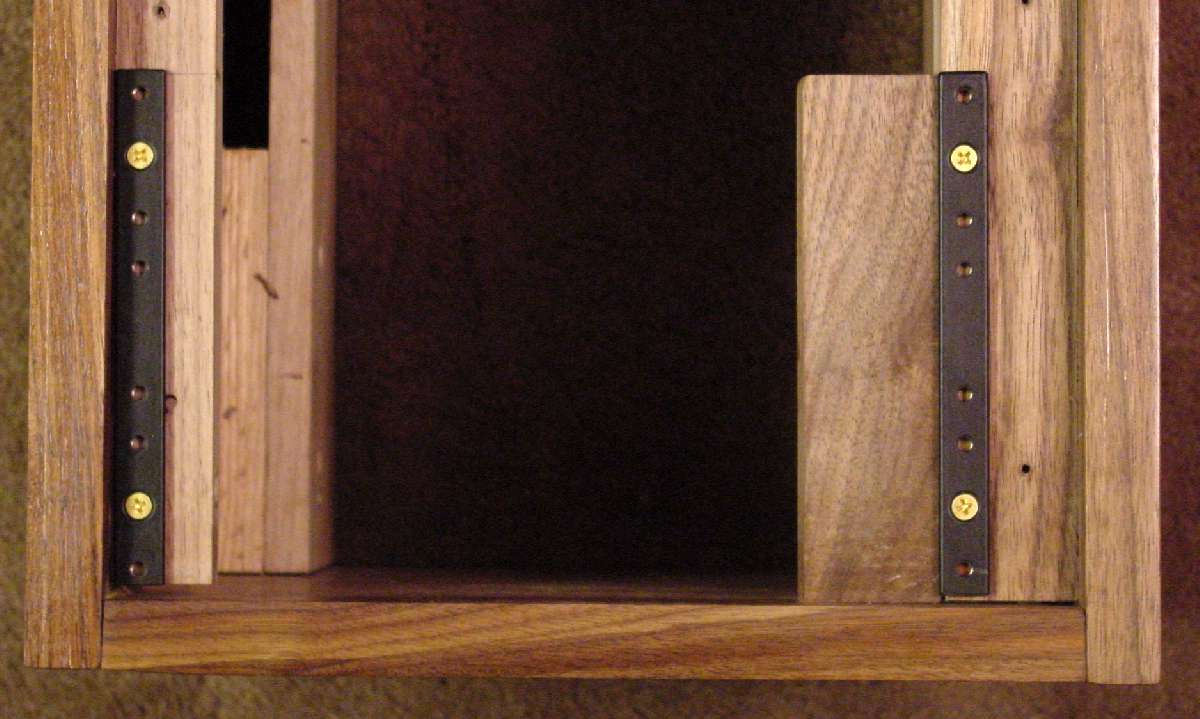
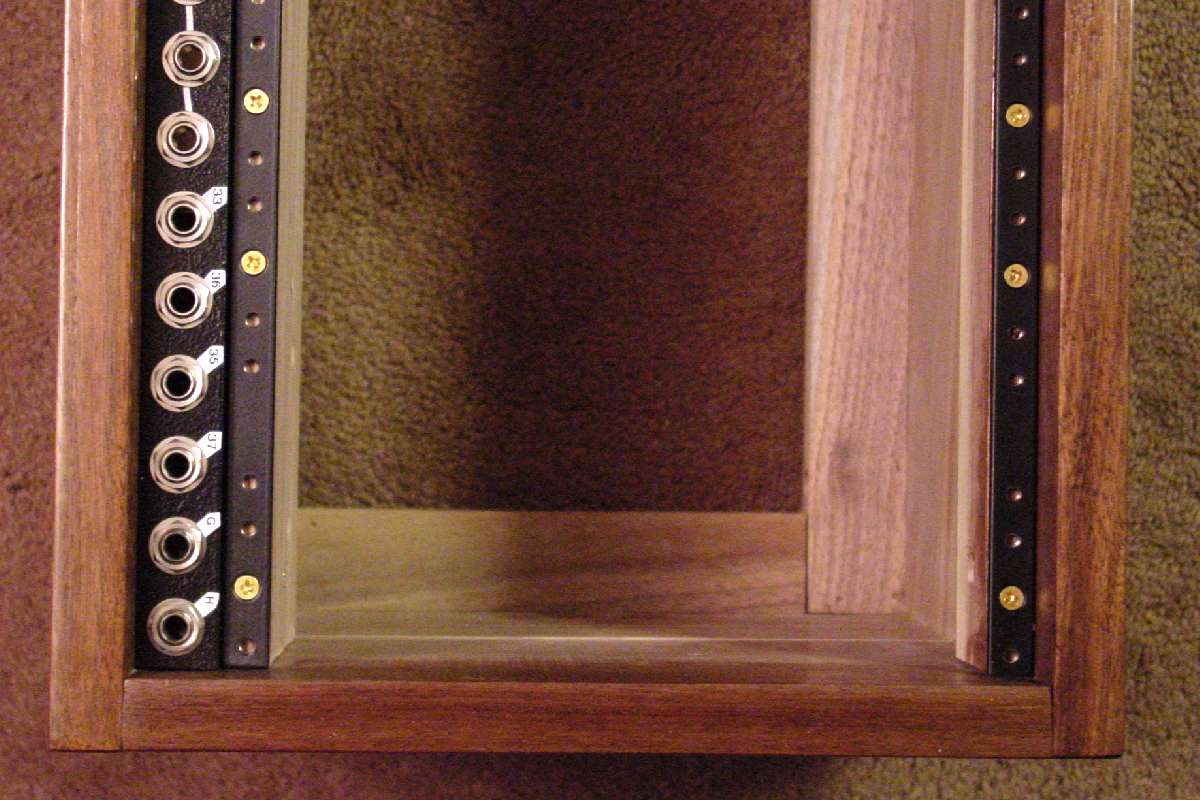
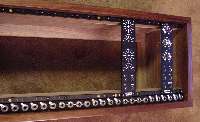
Looking from the front, you can see the inside of the back panel, the hole in the back for the back side 3U panel (need to trim that a little), the top and bottom lips for the flat rails, and the magic bus.
|

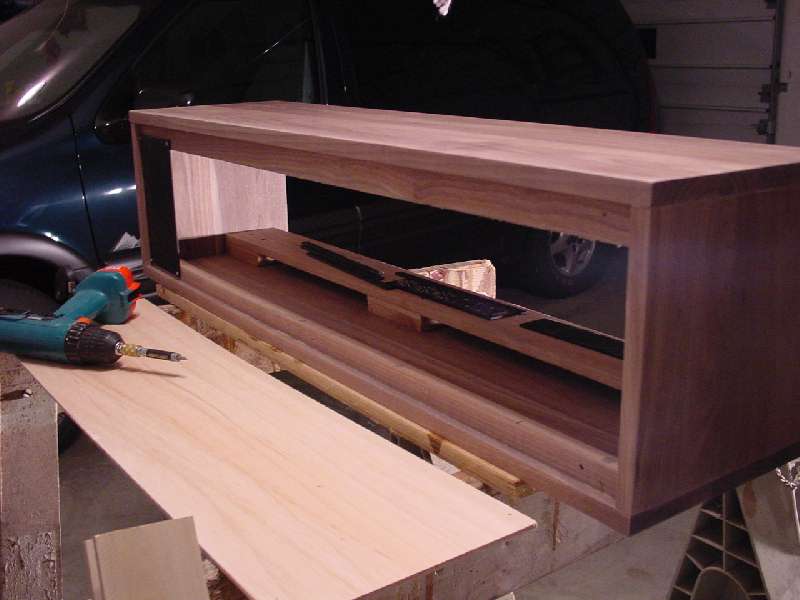
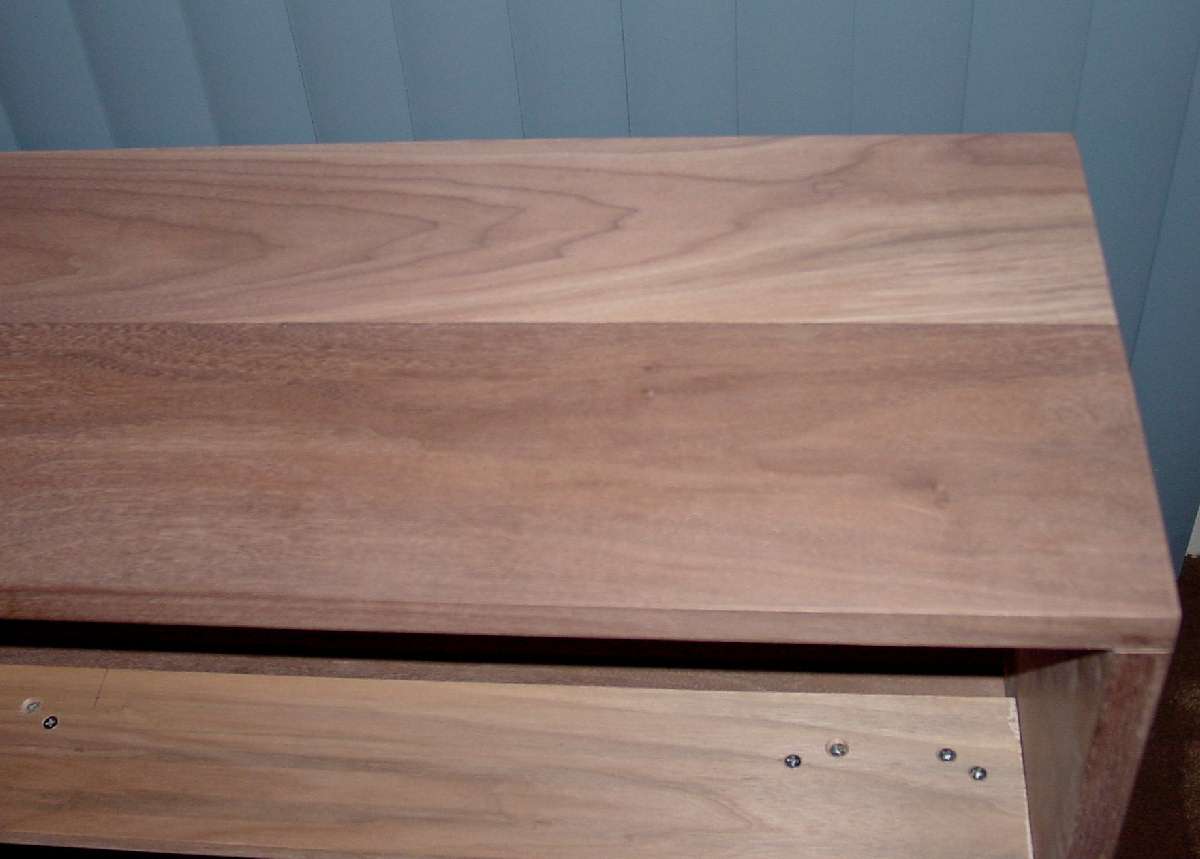
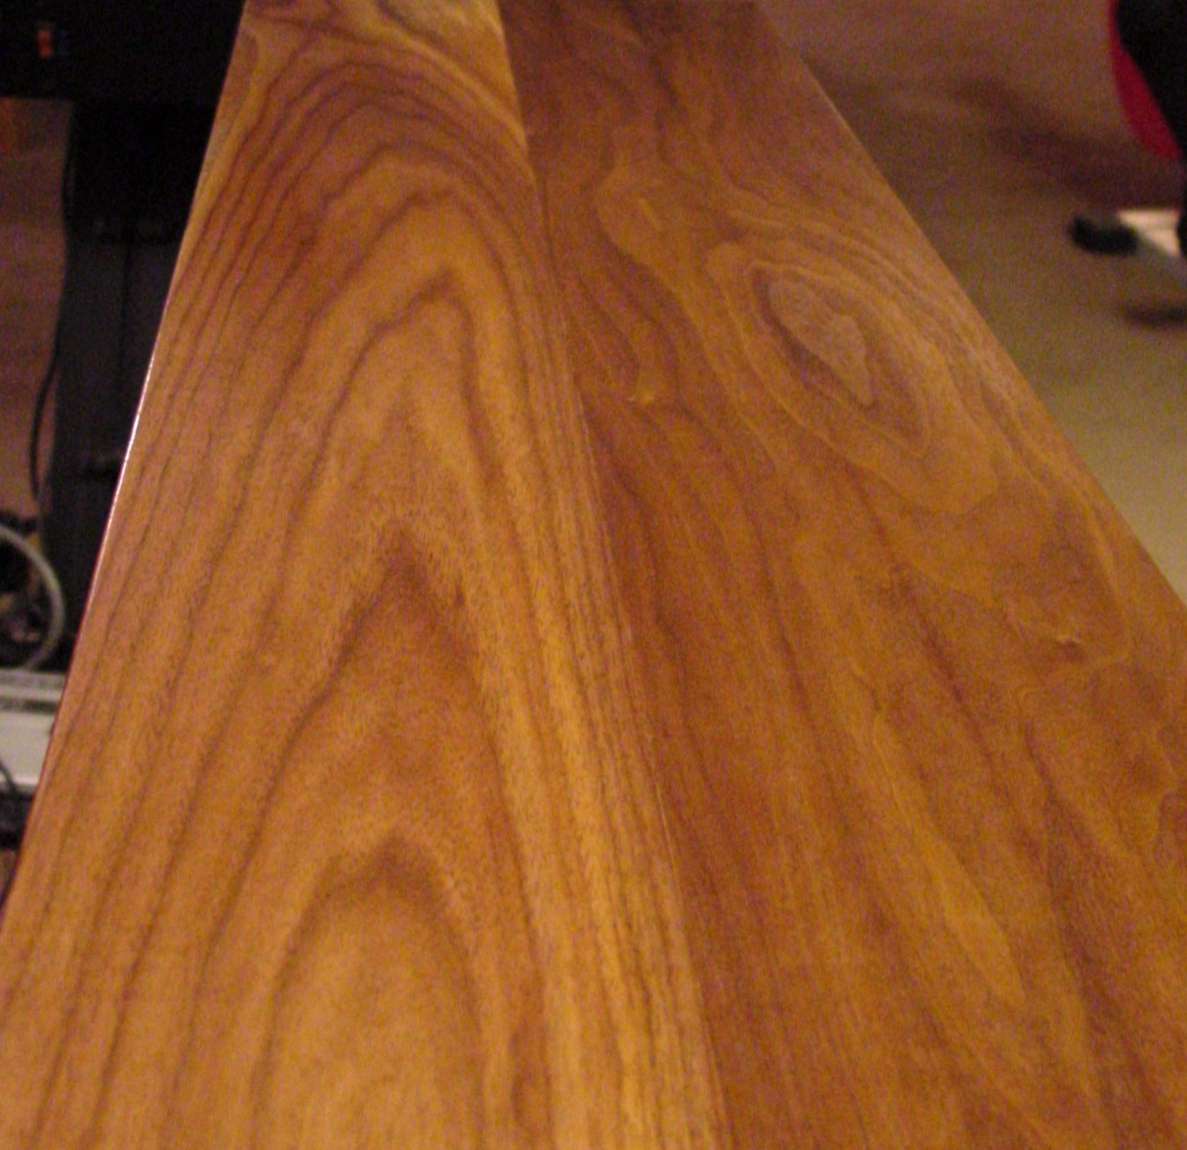
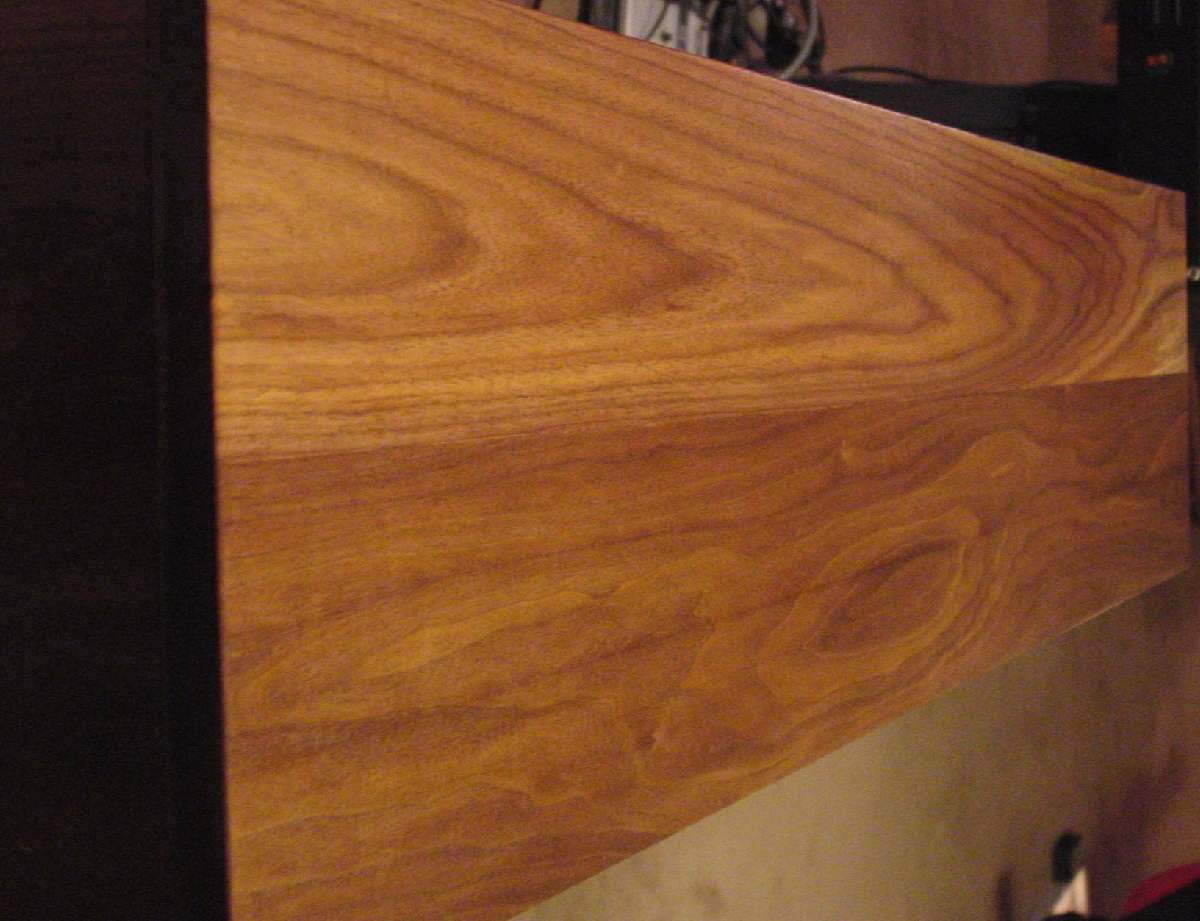
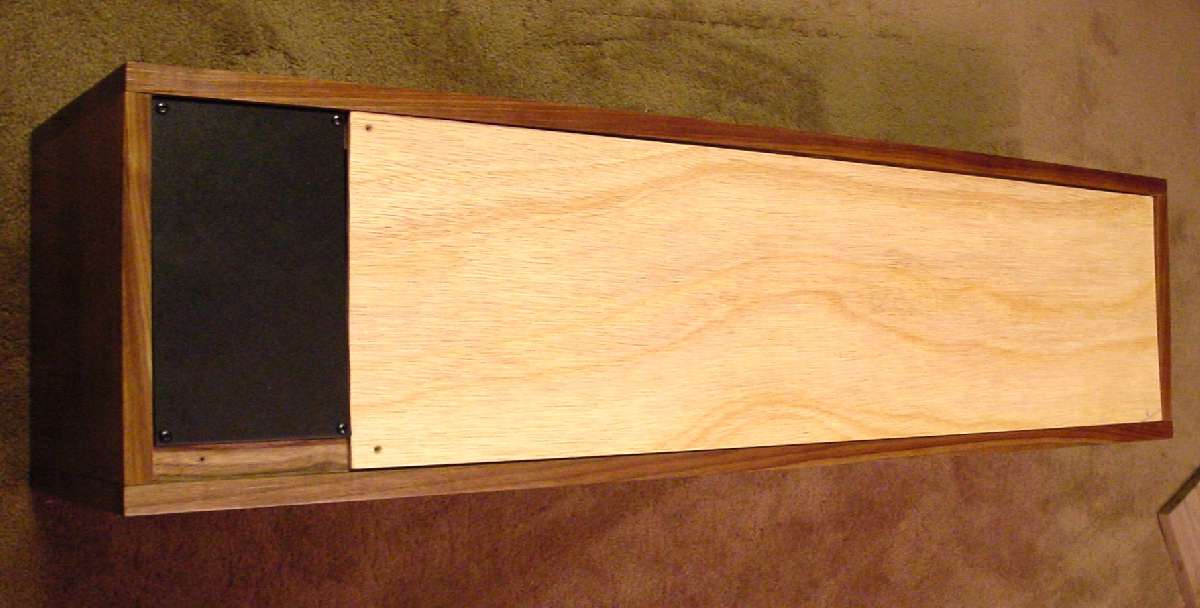
Here’s another view from the top. The walnut wood is indeed beautiful. I am glad I elected to use this material.
|
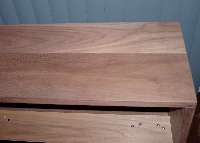
The grain in the very interesting and each will be unique. Boards are limited to 5 ½ inches wide so there is no warping.
|
|
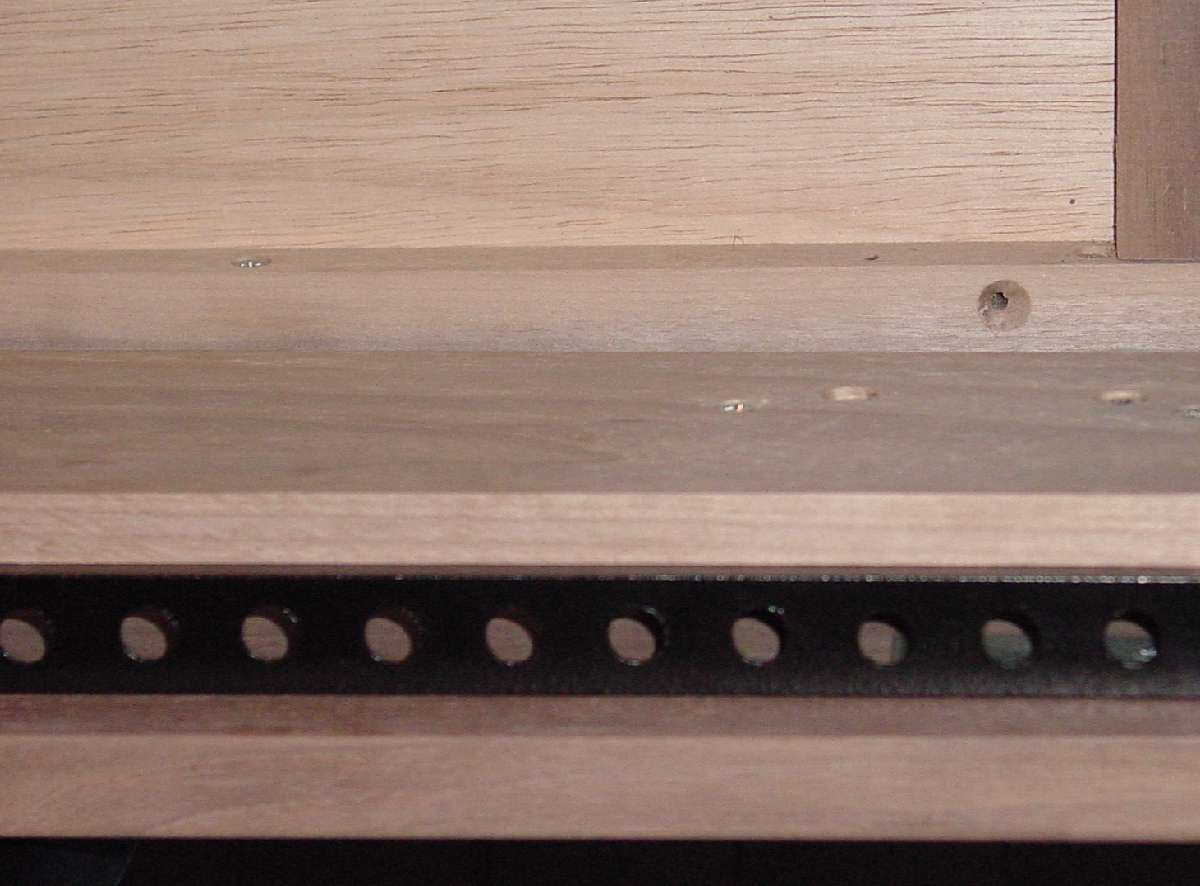
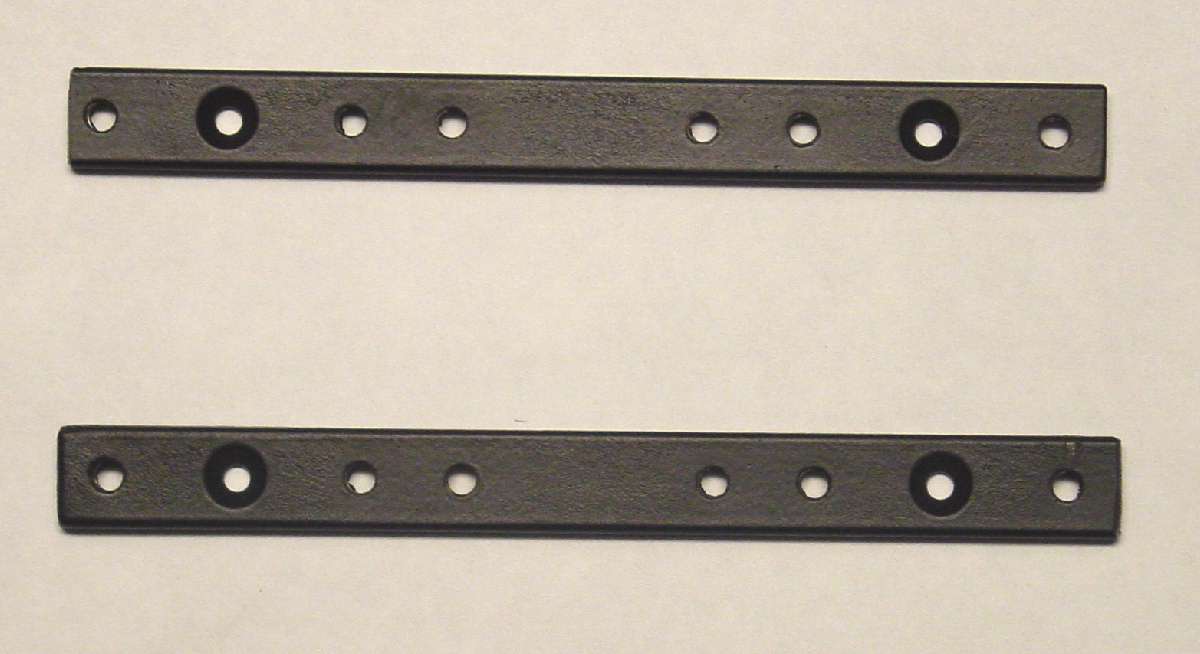
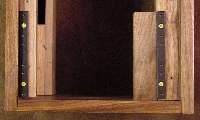
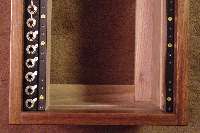
Close up of the empty magic bus and the rail that holds it in place
|

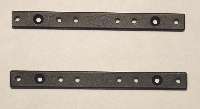
Here is a photo of the metal part of the magic bus. It is 42 inches long to match the 24U wide format. It has 48 jack holes which are spaced to match the 48 jack locations along the bottom of 24U of MOTM modules. This metal is available at any good home improvement center like Lowes. It comes in 4 and 8 foot lengths. Drilling was a bitch.
|
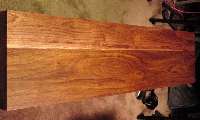
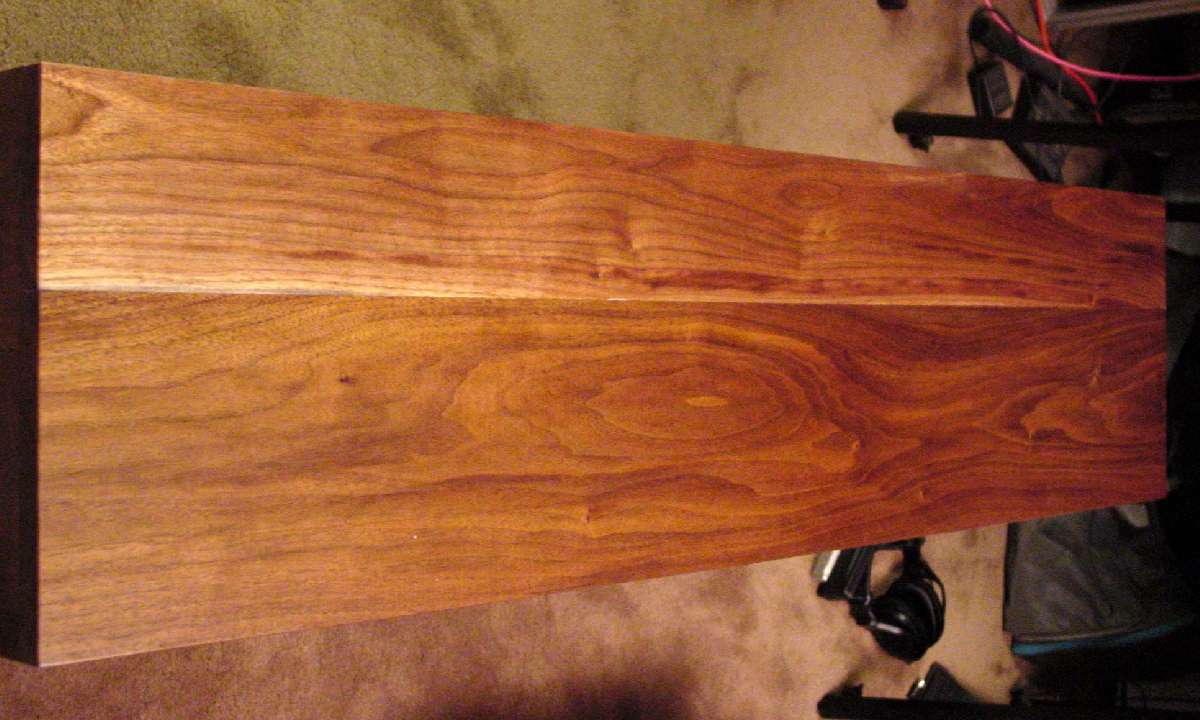
The color of the walnut jumped right out at me when I put the first quick coat of wipe on poly. While this sure it pretty, this is only the bottom. J Imagine how good the top will look.
|
|
For the back 3U panel I cut one standard flat rail in half. Notice that each half still has 2 wood screw mounting holes. That was not an accident. J
|
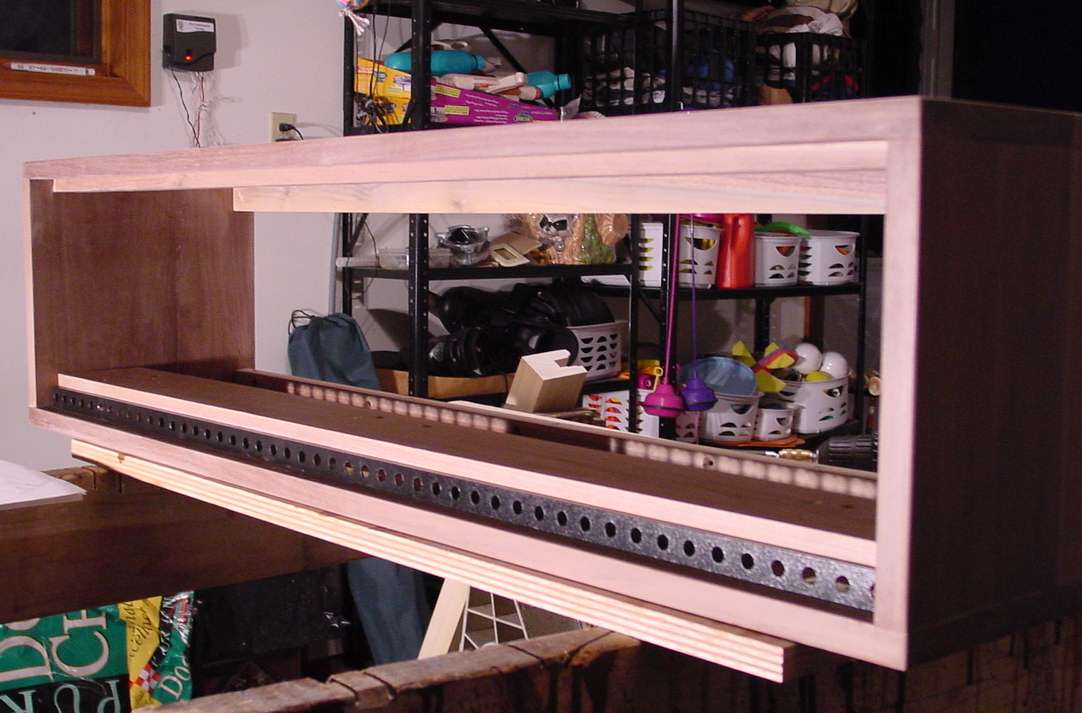
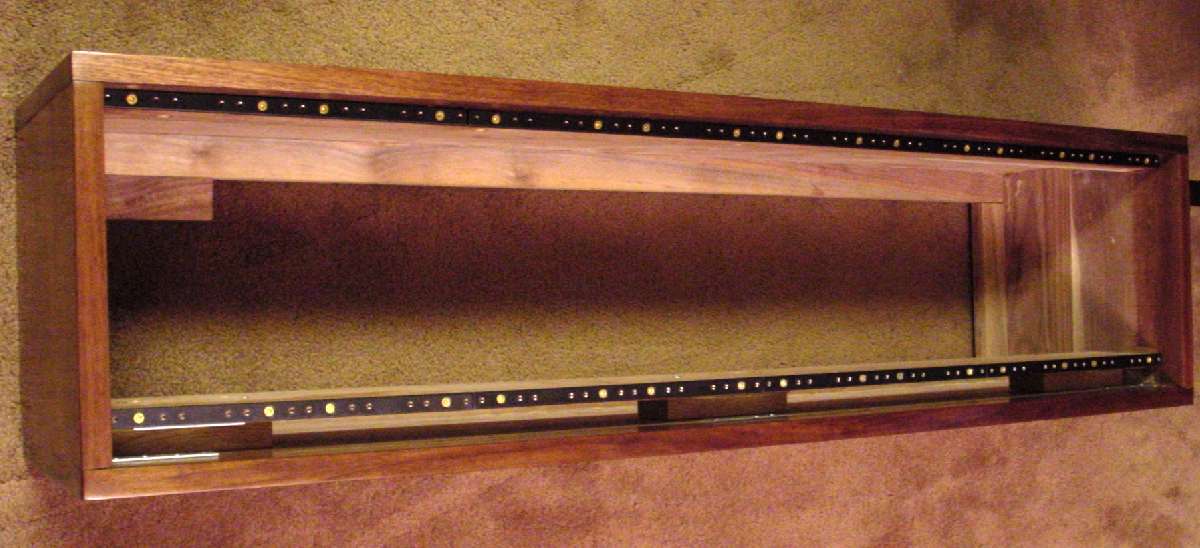
Here the flat rails are mounted for the back panel. The cabinet maker made the back panel open area too small. So, I need to trim that wood back some.
|

Here is the view of the back of the cabinet. ¼ plywood makes a nice easy cover to remove. I have wood screws in it now. But, I expect I will probably end up with those wood inserts for machine screws.
|
|
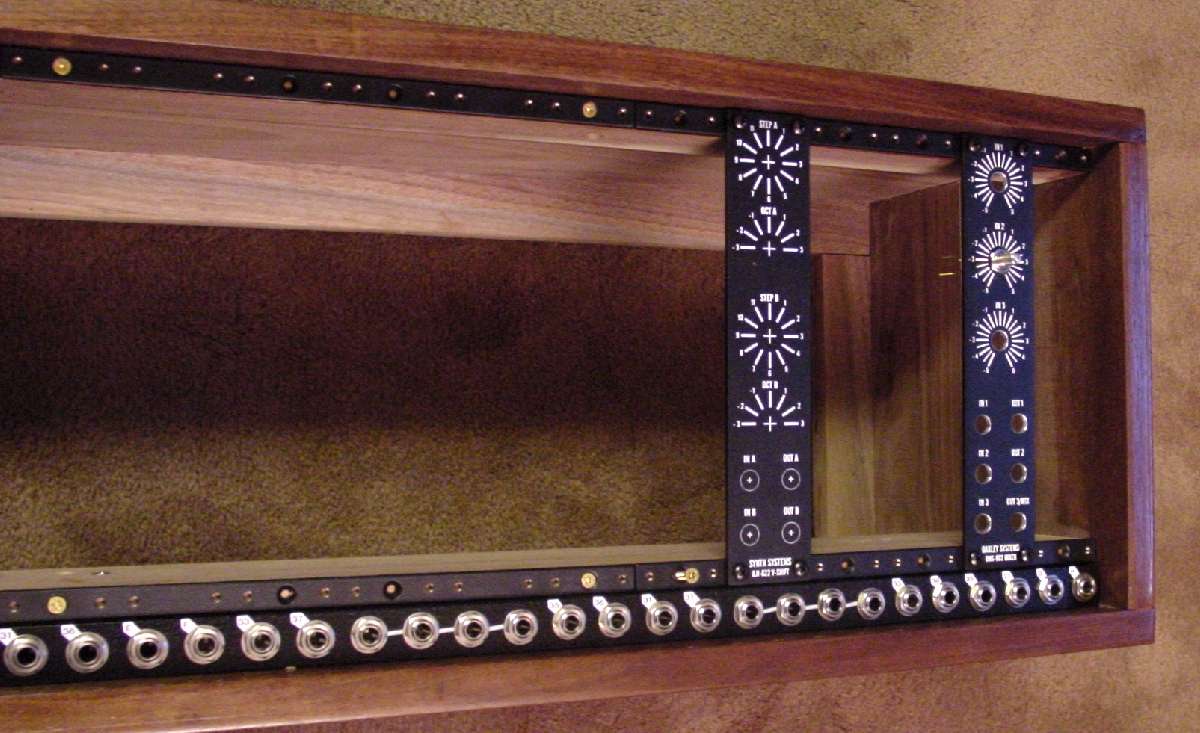
When I installed the flat rails on the front, I used a couple of 1U panels to make certain everything would line up when complete.
|
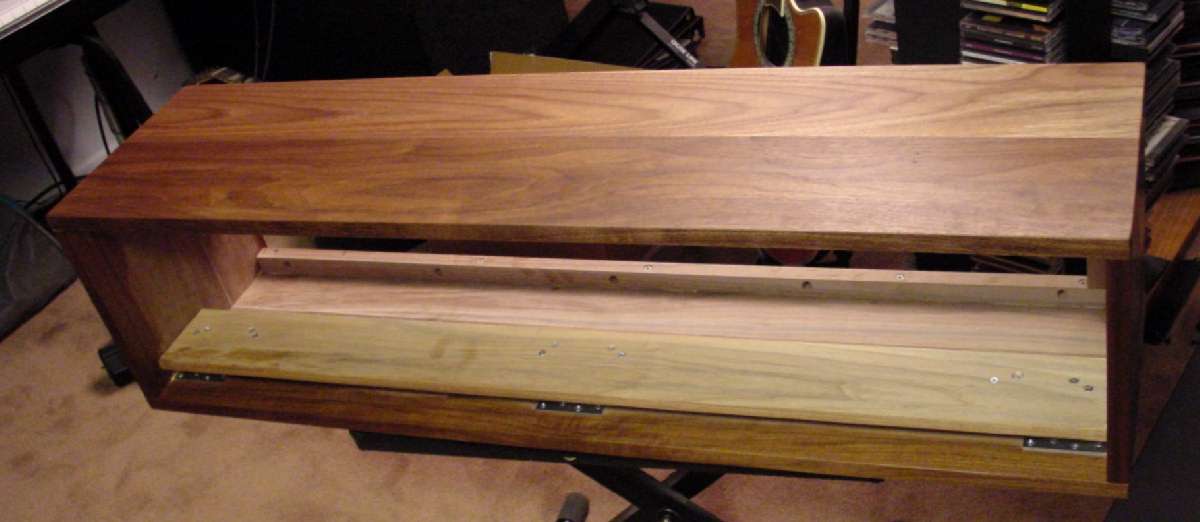
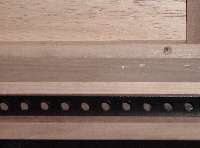
Here you see the cabinet complete with 8 flat rails. This is much better than using wood screws into the wood. No matter how many times I move modules, I will always have good threads for attachment.
|
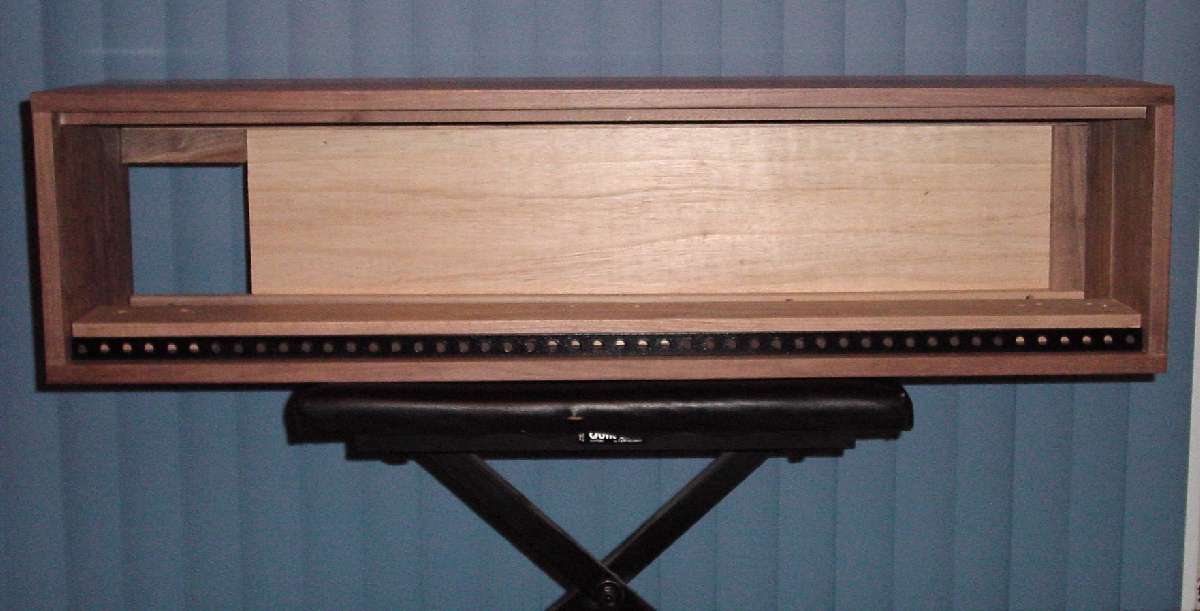
The flat rails butt up very close to the magic bus. When all is complete, the front of the panels are even with the front of the magic bus.
|