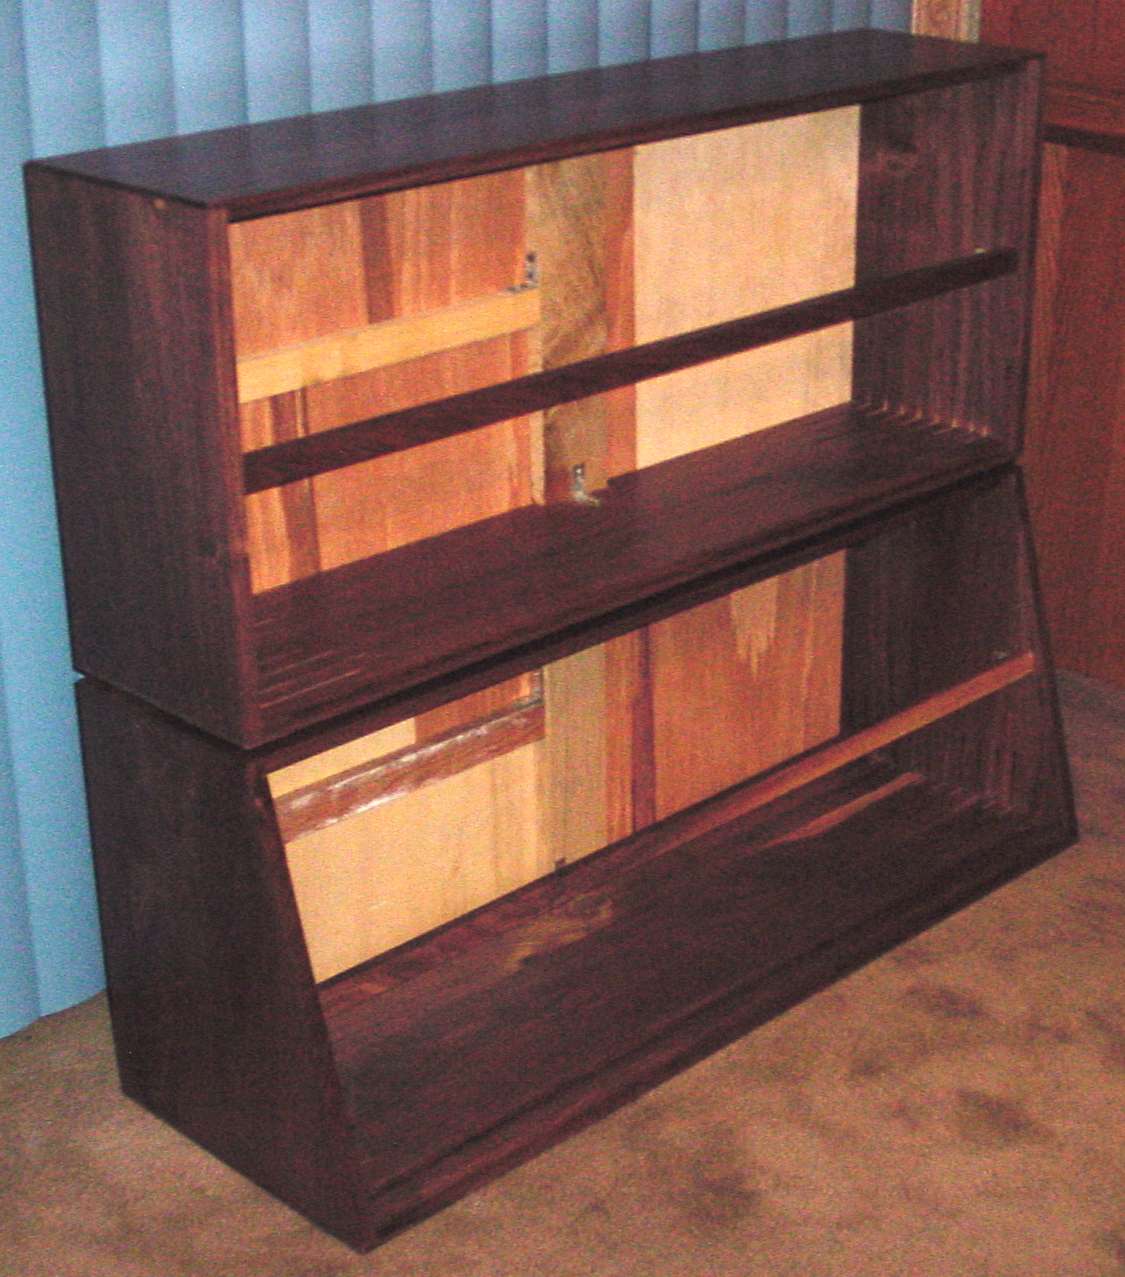
Here are the two NAMM cabinets stacked just as I got them from the cabinet maker. I have lots of work yet to do on them. Installing the power supplies, AC and DC wiring, and flat rails of course.
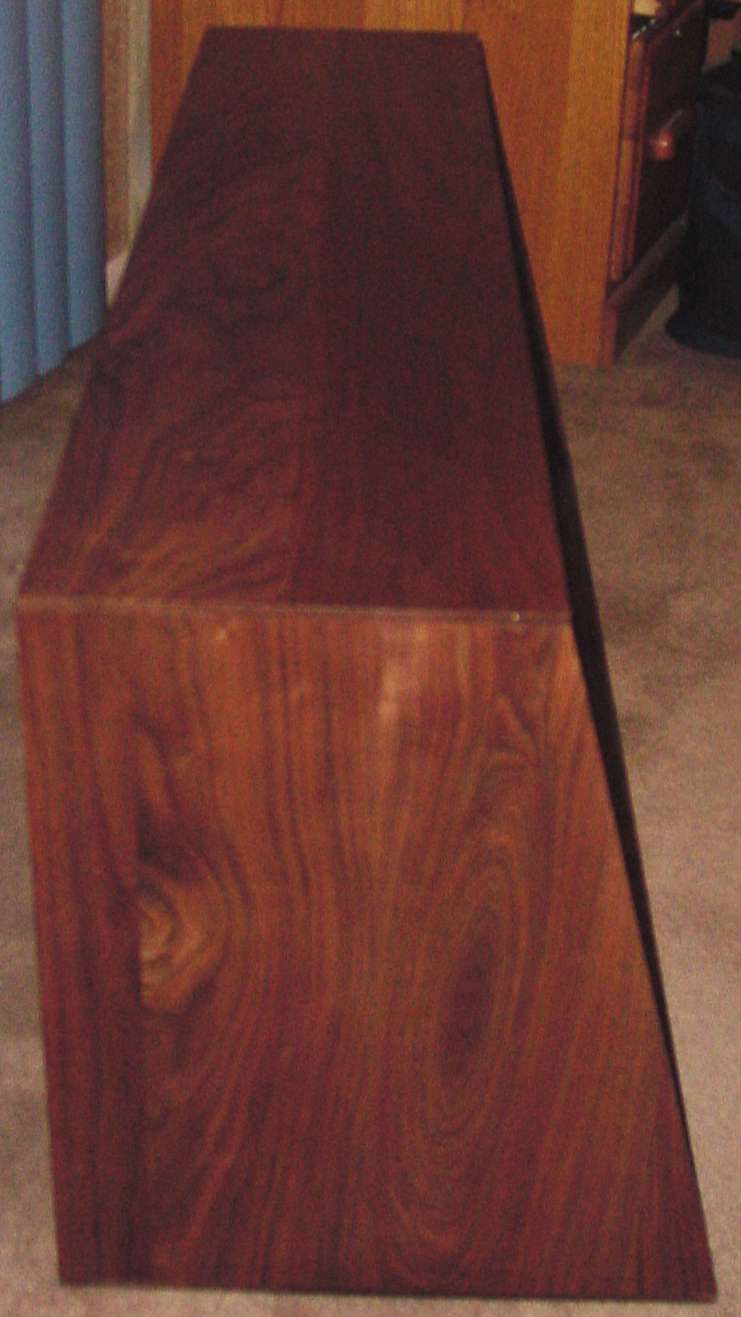
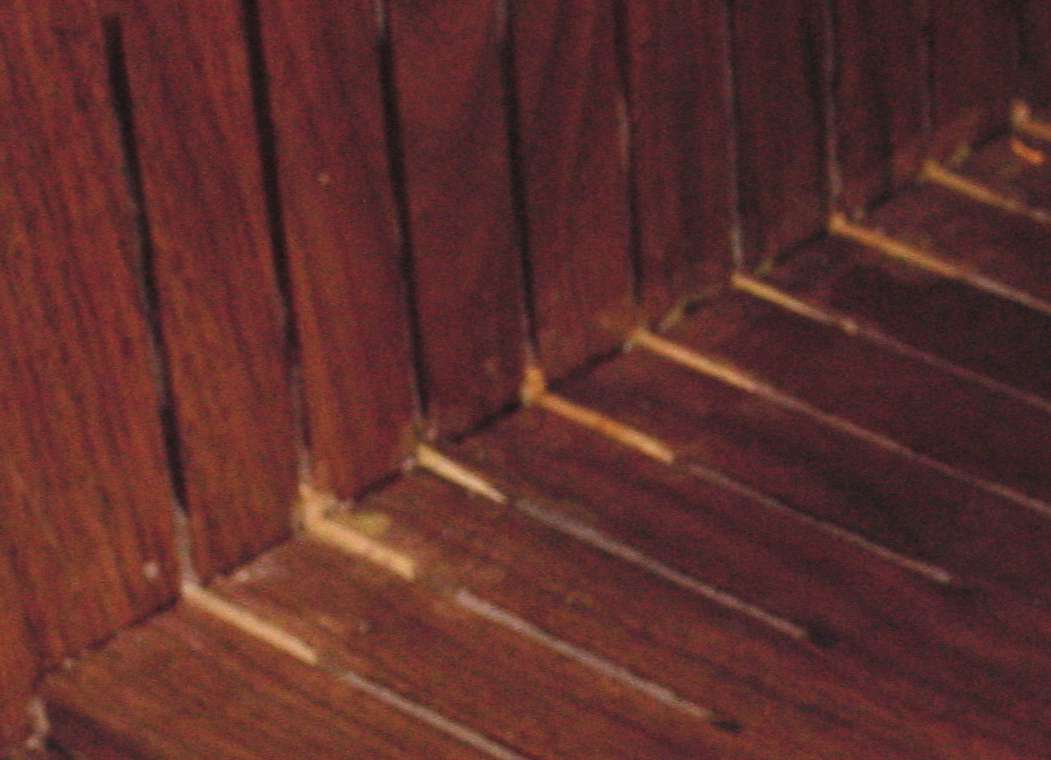
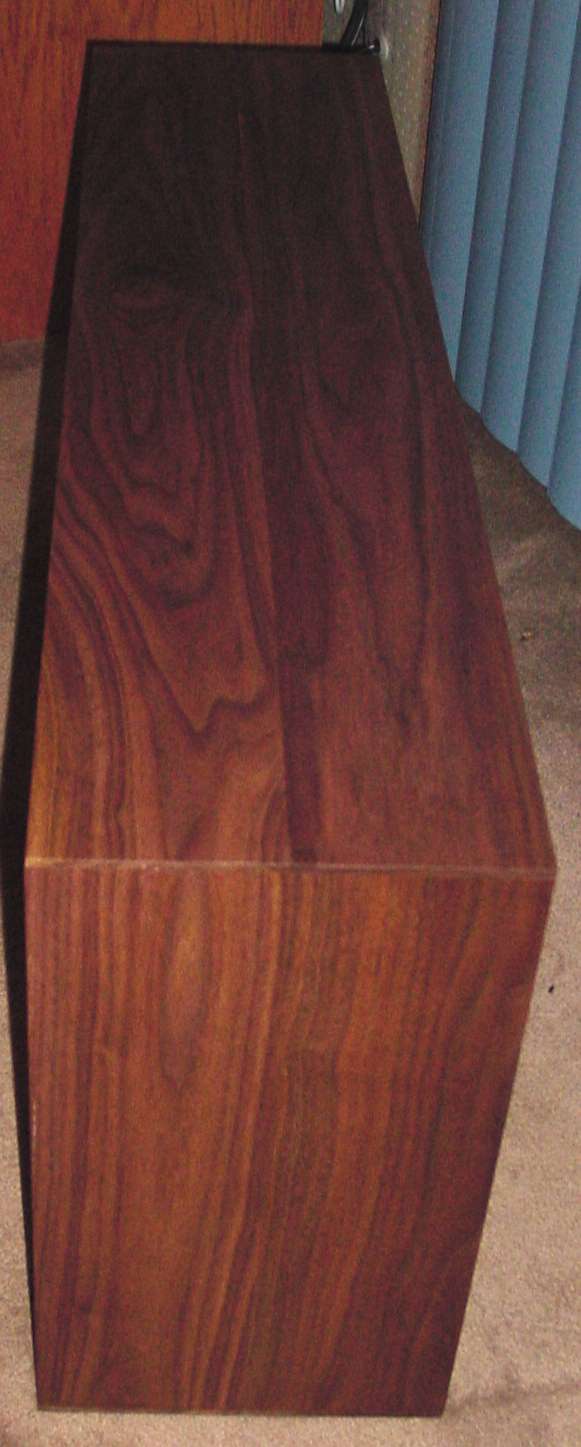
Here is a view from the of the lower slant cabinet from the left. Walnut sure has a beautiful grain. There is no stain on this wood. Once you put any finish coat on walnut, this is the natural color to expect. J
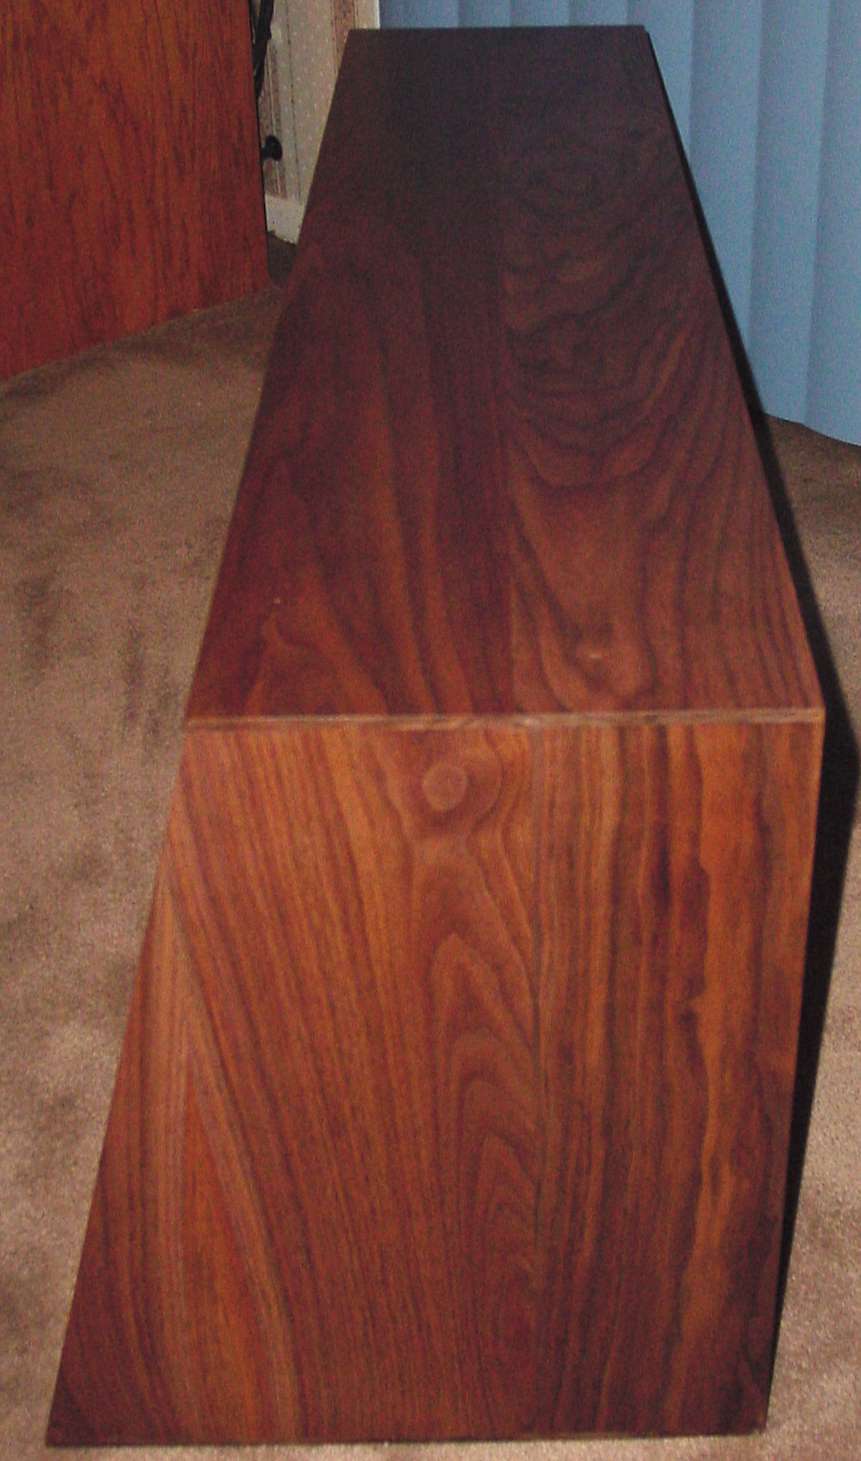
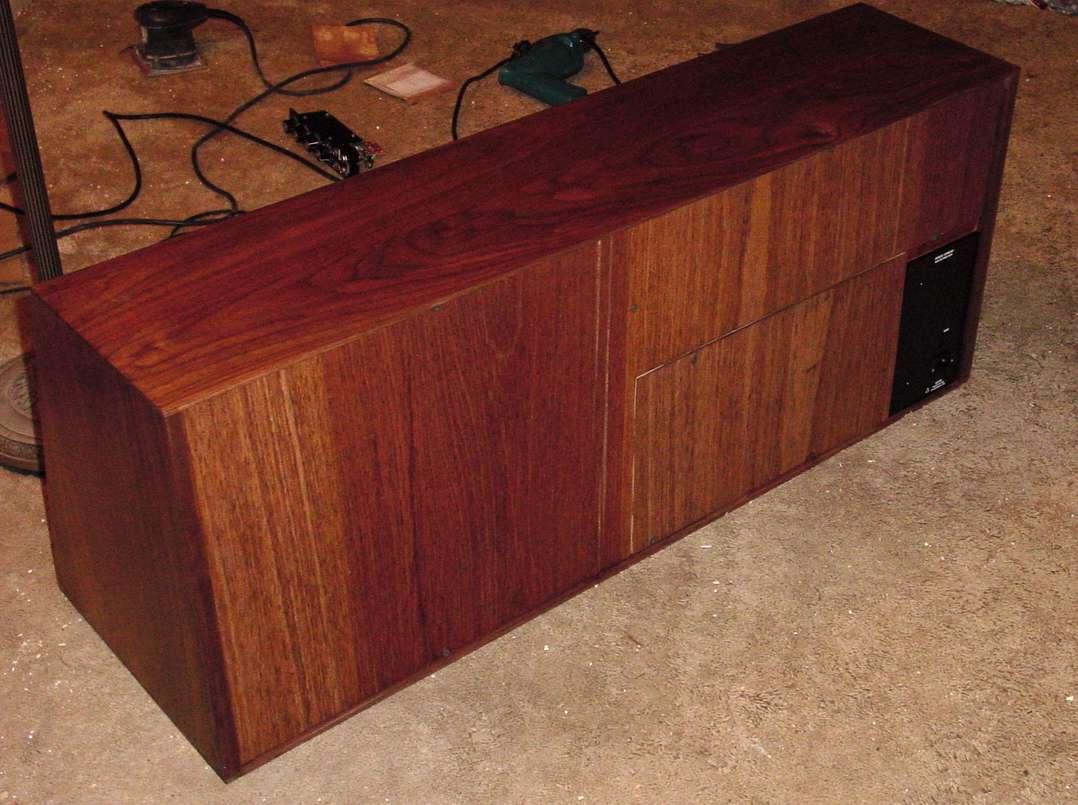
Here is a photo from the other side.
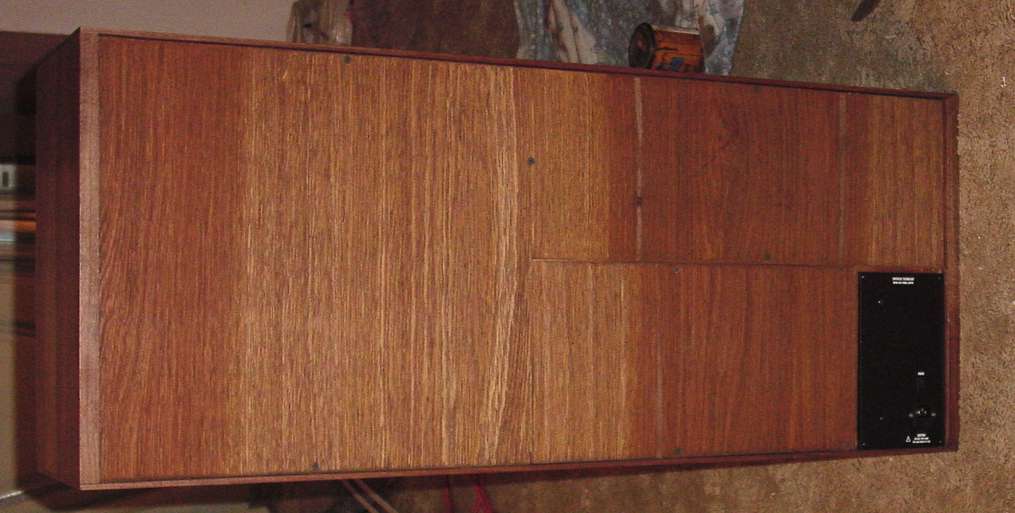
Here is a shot of the back. It is just ¼ plywood. But, it is stained to blend in with the wood. The back was cut with a removable panel over where I put the power supply. More power supply modules can be mounted on this back rail.
These cabinets corners are as strong as they get. Each corner has about 10 of these reinforcements. Kits would need to be different for assembly.
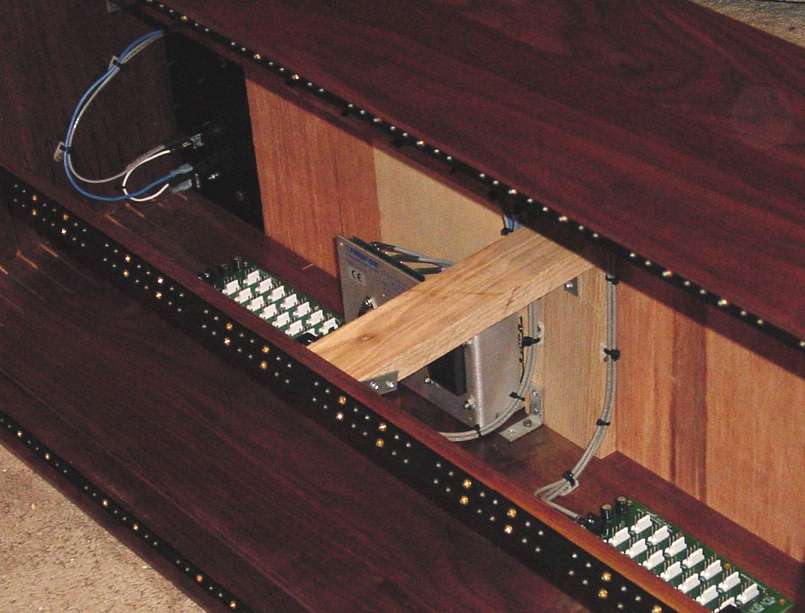
One of the things I added after I got this from the cabinet maker was this center of the rail brace. Once the modules are in, any up-and-down movement of the center rail will be impossible. With this center brace to stop any in-and-out movement, the rail will be rock solid.
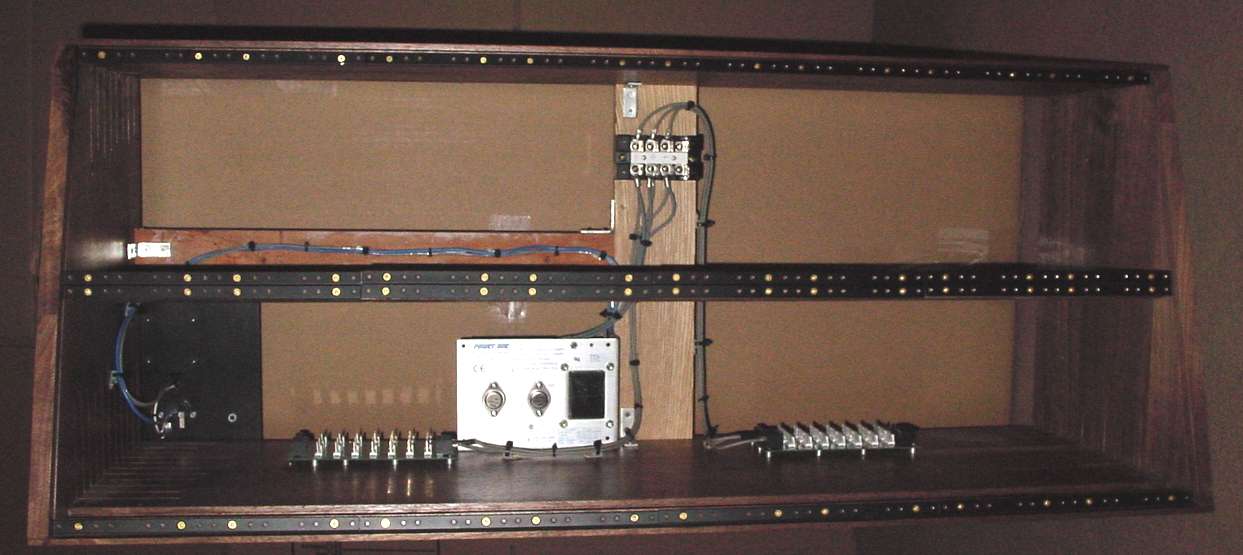
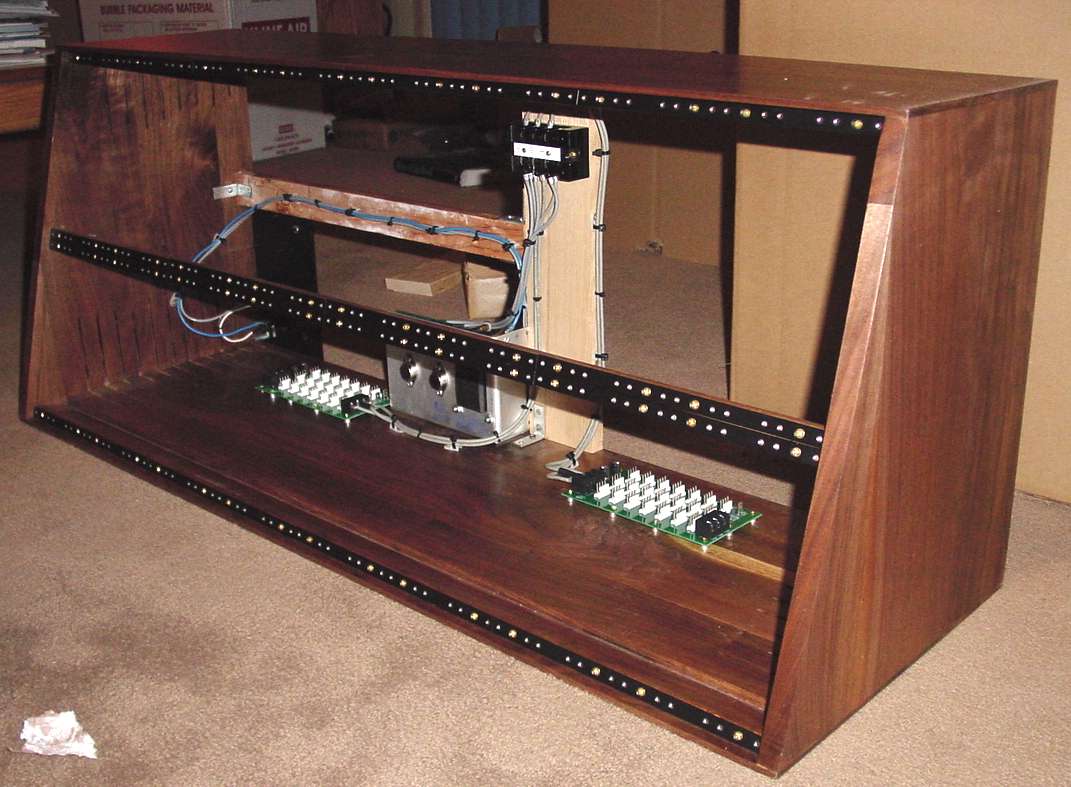
Here is one photo showing all the flat rails installed and the wiring complete. This beauty is now ready for modules.
Here is a different view. Notice the terminal block that allows the wiring to split going to the PCBs. The back AC panel is a MOTM- 900 power supply panel with nothing but the stock switch and AC connector with fuse. All wiring is secured with wire ties and fasteners to the wood.

Here is a left side view of the top cabinet.
And, here is the right side view of the upper cabinet.
Like the lower cabinet, the back is made of ¼" plywood. It has been stained with walnut stain to match the cabinet.
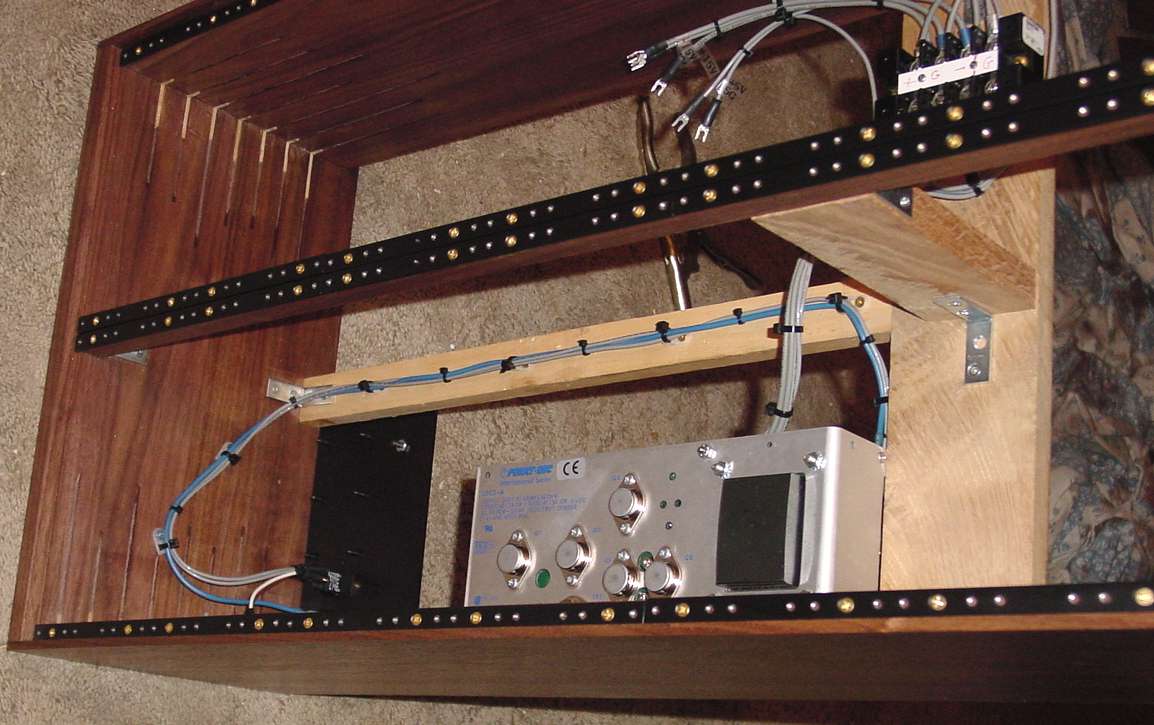
Here we see the inside of cabinet # 2 after the installation of the flat rails, center brace, and power supply similar to the lower cabinet. However, then power supply in this cabinet is a triple output supply that has not only +/-15 volts, but also +5 for 500 and 600 series modules. The new PCBs with MTA 156 6-pin connectors were not available when I completed this cabinet.
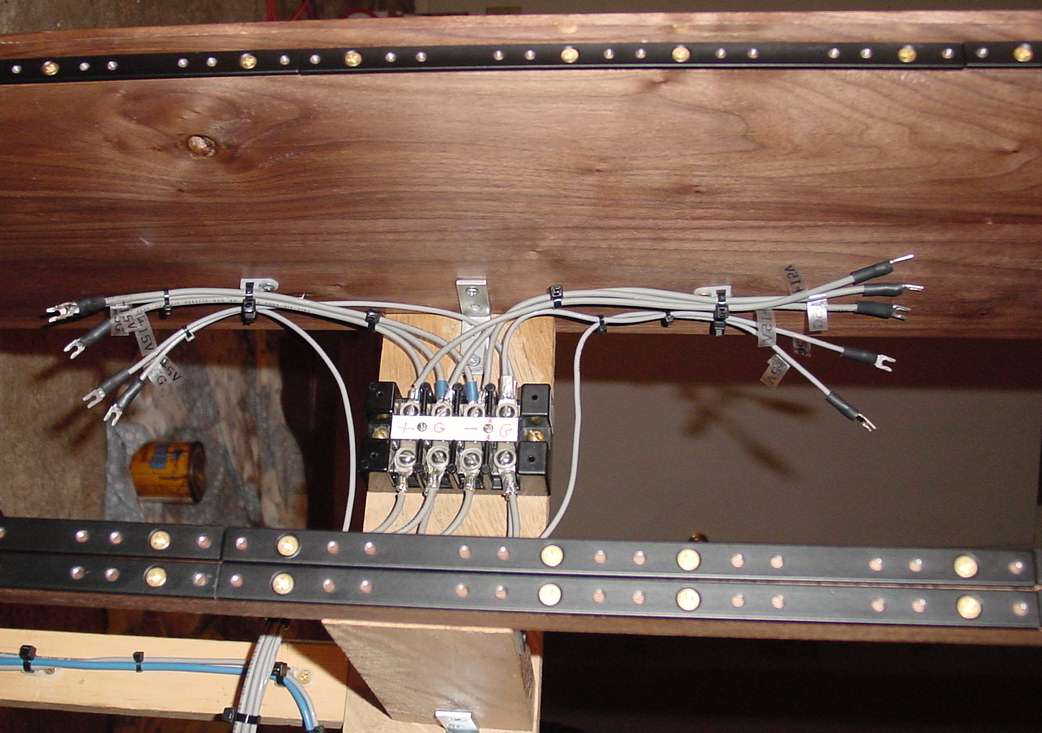
Here is some detail on the wiring. I use Marathon terminal blocks to take one wire from the power supply to both PCBs for +/-15 volts. This power supply already had two + 5 volt outputs, so you see those wires passing right by. I also used this block to bond the grounds for +5 and +/-15 volt. They were not common on the supply. I have the 5 spade lugs ready for screwdriver attachment to the new PCBs when they arrive.